Blueberries are not only famous for their delicious taste, but they are also known for their many health benefits. Growing blueberries at home is becoming more and more popular, and one of the most effective methods of propagation is through cuttings. Blueberries can be propagated from both hardwood and softwood cuttings, each of which has its own advantages. In this article, we will learn in detail about the process of propagating blueberries by cuttings, from the preparation of the tool to the steps to care for the seedling after rooting.
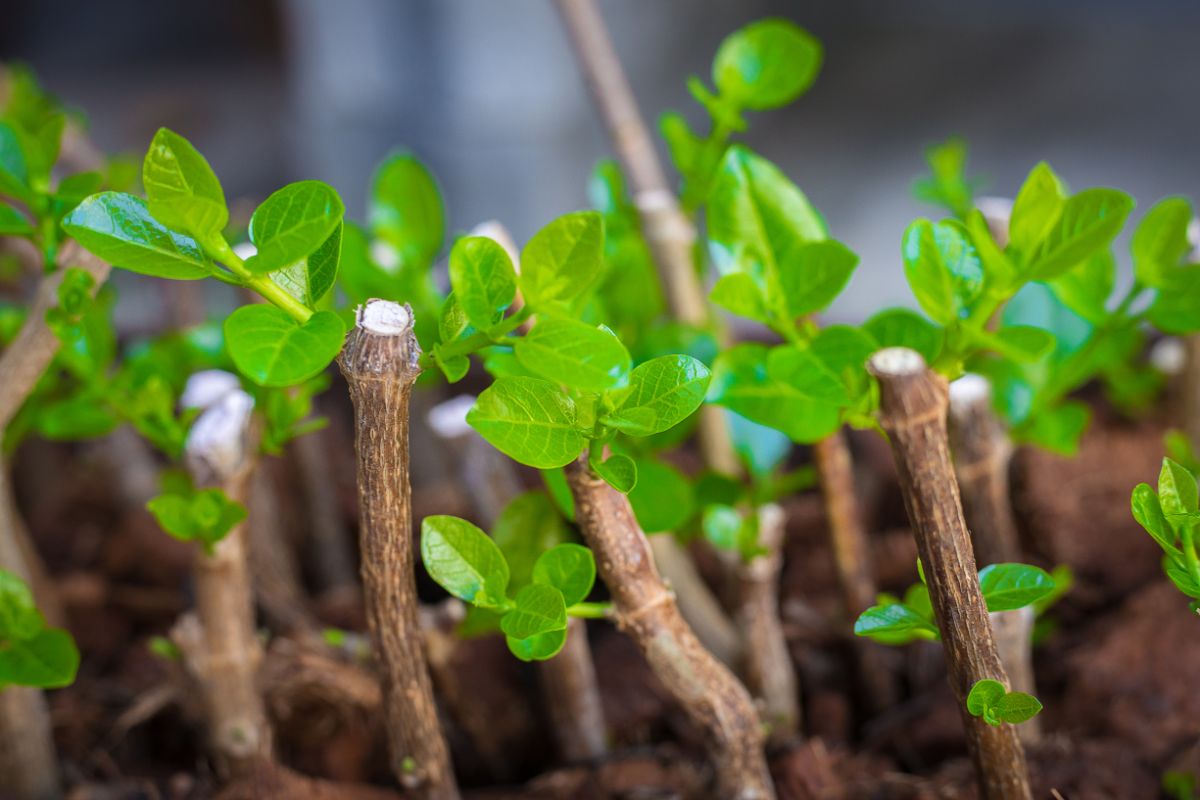
Importance of propagation
Propagation is the process of creating new plants from a parent plant. While blueberries can be grown from seeds, this method often takes longer and does not guarantee that the new plants will have the same characteristics as the parent. Propagating from cuttings is more efficient and ensures that you’ll enjoy the same flavorful berries as the original plant.
Benefits of propagating blueberries from cuttings
- Genetic consistency: Each cutting you take will be a clone of the parent plant, ensuring uniformity in fruit quality and characteristics.
- Speed: Blueberry cuttings can root in as little as 4 to 6 weeks, allowing for quicker results compared to growing from seeds, which can take several months to germinate and establish.
- Cost-effective: By propagating your own plants, you can save money on purchasing new plants and expand your garden without breaking the bank.
- Control over varieties: You can select specific cultivars that thrive in your region, allowing you to tailor your blueberry garden to your local climate and soil conditions.
How to propagate blueberry plants cutting – Selecting the right time for cuttings
The timing of taking cuttings is crucial for successful propagation. The best time to take blueberry cuttings is during late spring or early summer, typically from late May to early July. This timing allows you to take softwood cuttings, which are more conducive to rooting.
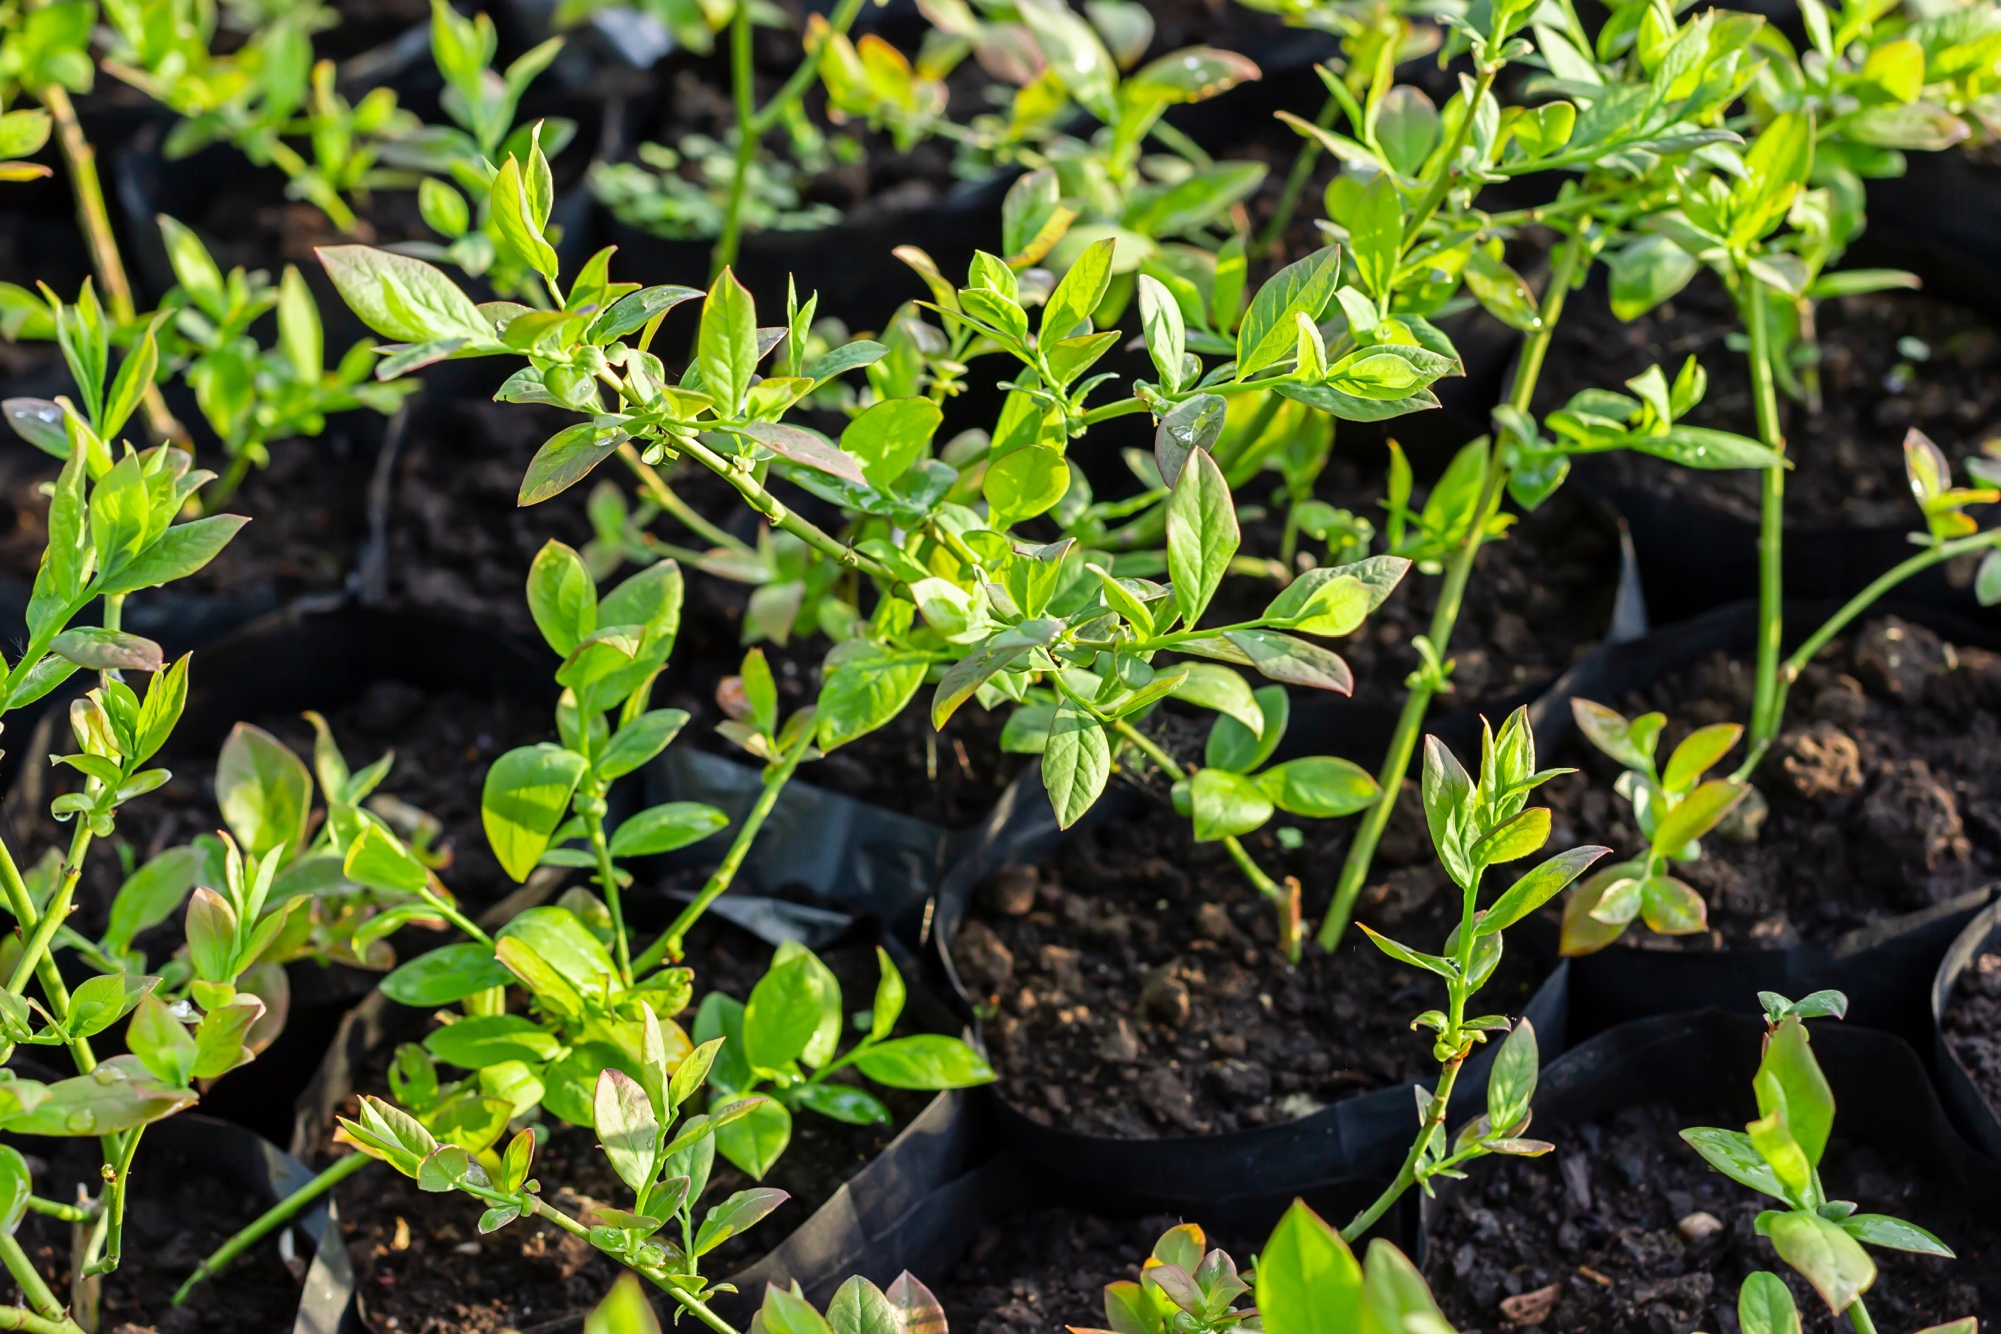
Types of cuttings
- Softwood cuttings: These are taken from the new growth of the current year. Softwood cuttings are flexible, green, and have a higher success rate for rooting.
- Semi-hardwood cuttings: Taken from slightly older wood, these cuttings are usually harvested in late summer. While they can root, they may take longer to establish.
Factors influencing timing
- Weather conditions: Ensure that the weather is stable, with temperatures consistently above 60°F (15°C), to create an ideal environment for rooting.
- Plant health: Choose healthy, vigorous parent plants free from pests and diseases to ensure the best chance of successful propagation.
Materials you will need
Gathering the right materials is essential for successful propagation. Here’s a list of items you will need:
- Sharp pruning shears: A clean, sharp pair of pruning shears is essential for taking cuttings without damaging the parent plant.
- Rooting hormone (optional): While not necessary, using rooting hormone can encourage faster root development and increase the success rate of your cuttings.
- Small pots or containers: Use pots that are at least 4-6 inches deep with drainage holes to prevent waterlogging.
- Potting mix: A well-draining potting mix, preferably one designed for acid-loving plants, is ideal for blueberry cuttings. A mix of peat moss and perlite works well.
- Water: You’ll need clean water for hydrating the cuttings and keeping the potting mix moist.
- Plastic bag or humidity dome: To create a humid environment for the cuttings, a clear plastic bag or humidity dome is helpful.
- Labels: Consider labeling your cuttings to keep track of different varieties and their propagation dates.
Taking the cuttings
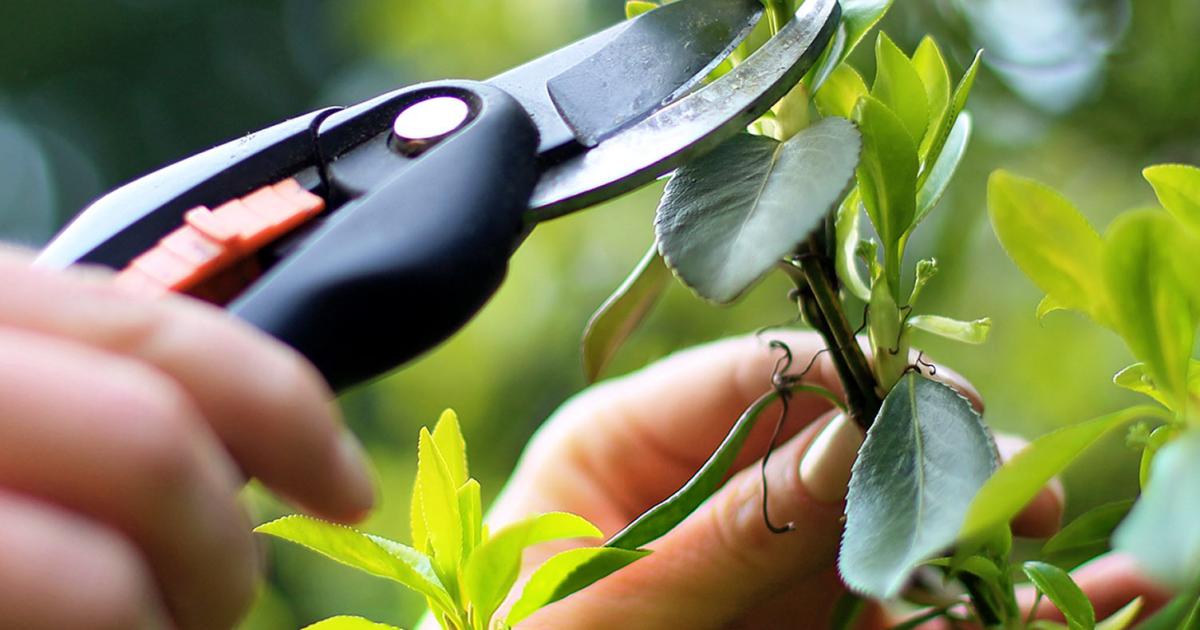
Now that you have your materials ready, it’s time to take the cuttings. Follow these steps for best results:
Step 1: Prepare your tools
Before you begin, clean and sterilize your pruning shears with rubbing alcohol. This helps prevent the spread of diseases to your plants.
Step 2: Select healthy shoots
Look for healthy, vigorous stems on the parent plant. Choose stems that are about 4 to 6 inches long, with several nodes (the points where leaves attach to the stem). Avoid any stems that show signs of disease, pests, or damage.
Step 3: Cut the stems
Using your pruning shears, make a clean cut just below a leaf node. This area contains meristematic cells that are more likely to develop roots. Be sure to cut at a 45-degree angle to increase the surface area for rooting.
Step 4: Remove lower leaves
Remove the leaves from the lower half of the cutting, leaving two to three leaves at the top. This helps reduce moisture loss through transpiration and focuses the plant’s energy on developing roots.
Step 5: Optional – apply rooting hormone
If you choose to use rooting hormone, dip the cut end of the cutting into the hormone powder or gel. Tap off any excess to prevent root rot. While not essential, rooting hormone can enhance the likelihood of successful propagation.
Preparing the cuttings for planting
Step 1: Prepare the potting mix
Fill your pots or containers with a well-draining potting mix. Moisten the mix lightly with water until it is damp but not soggy. This provides a good starting environment for the cuttings.
Step 2: Plant the cuttings
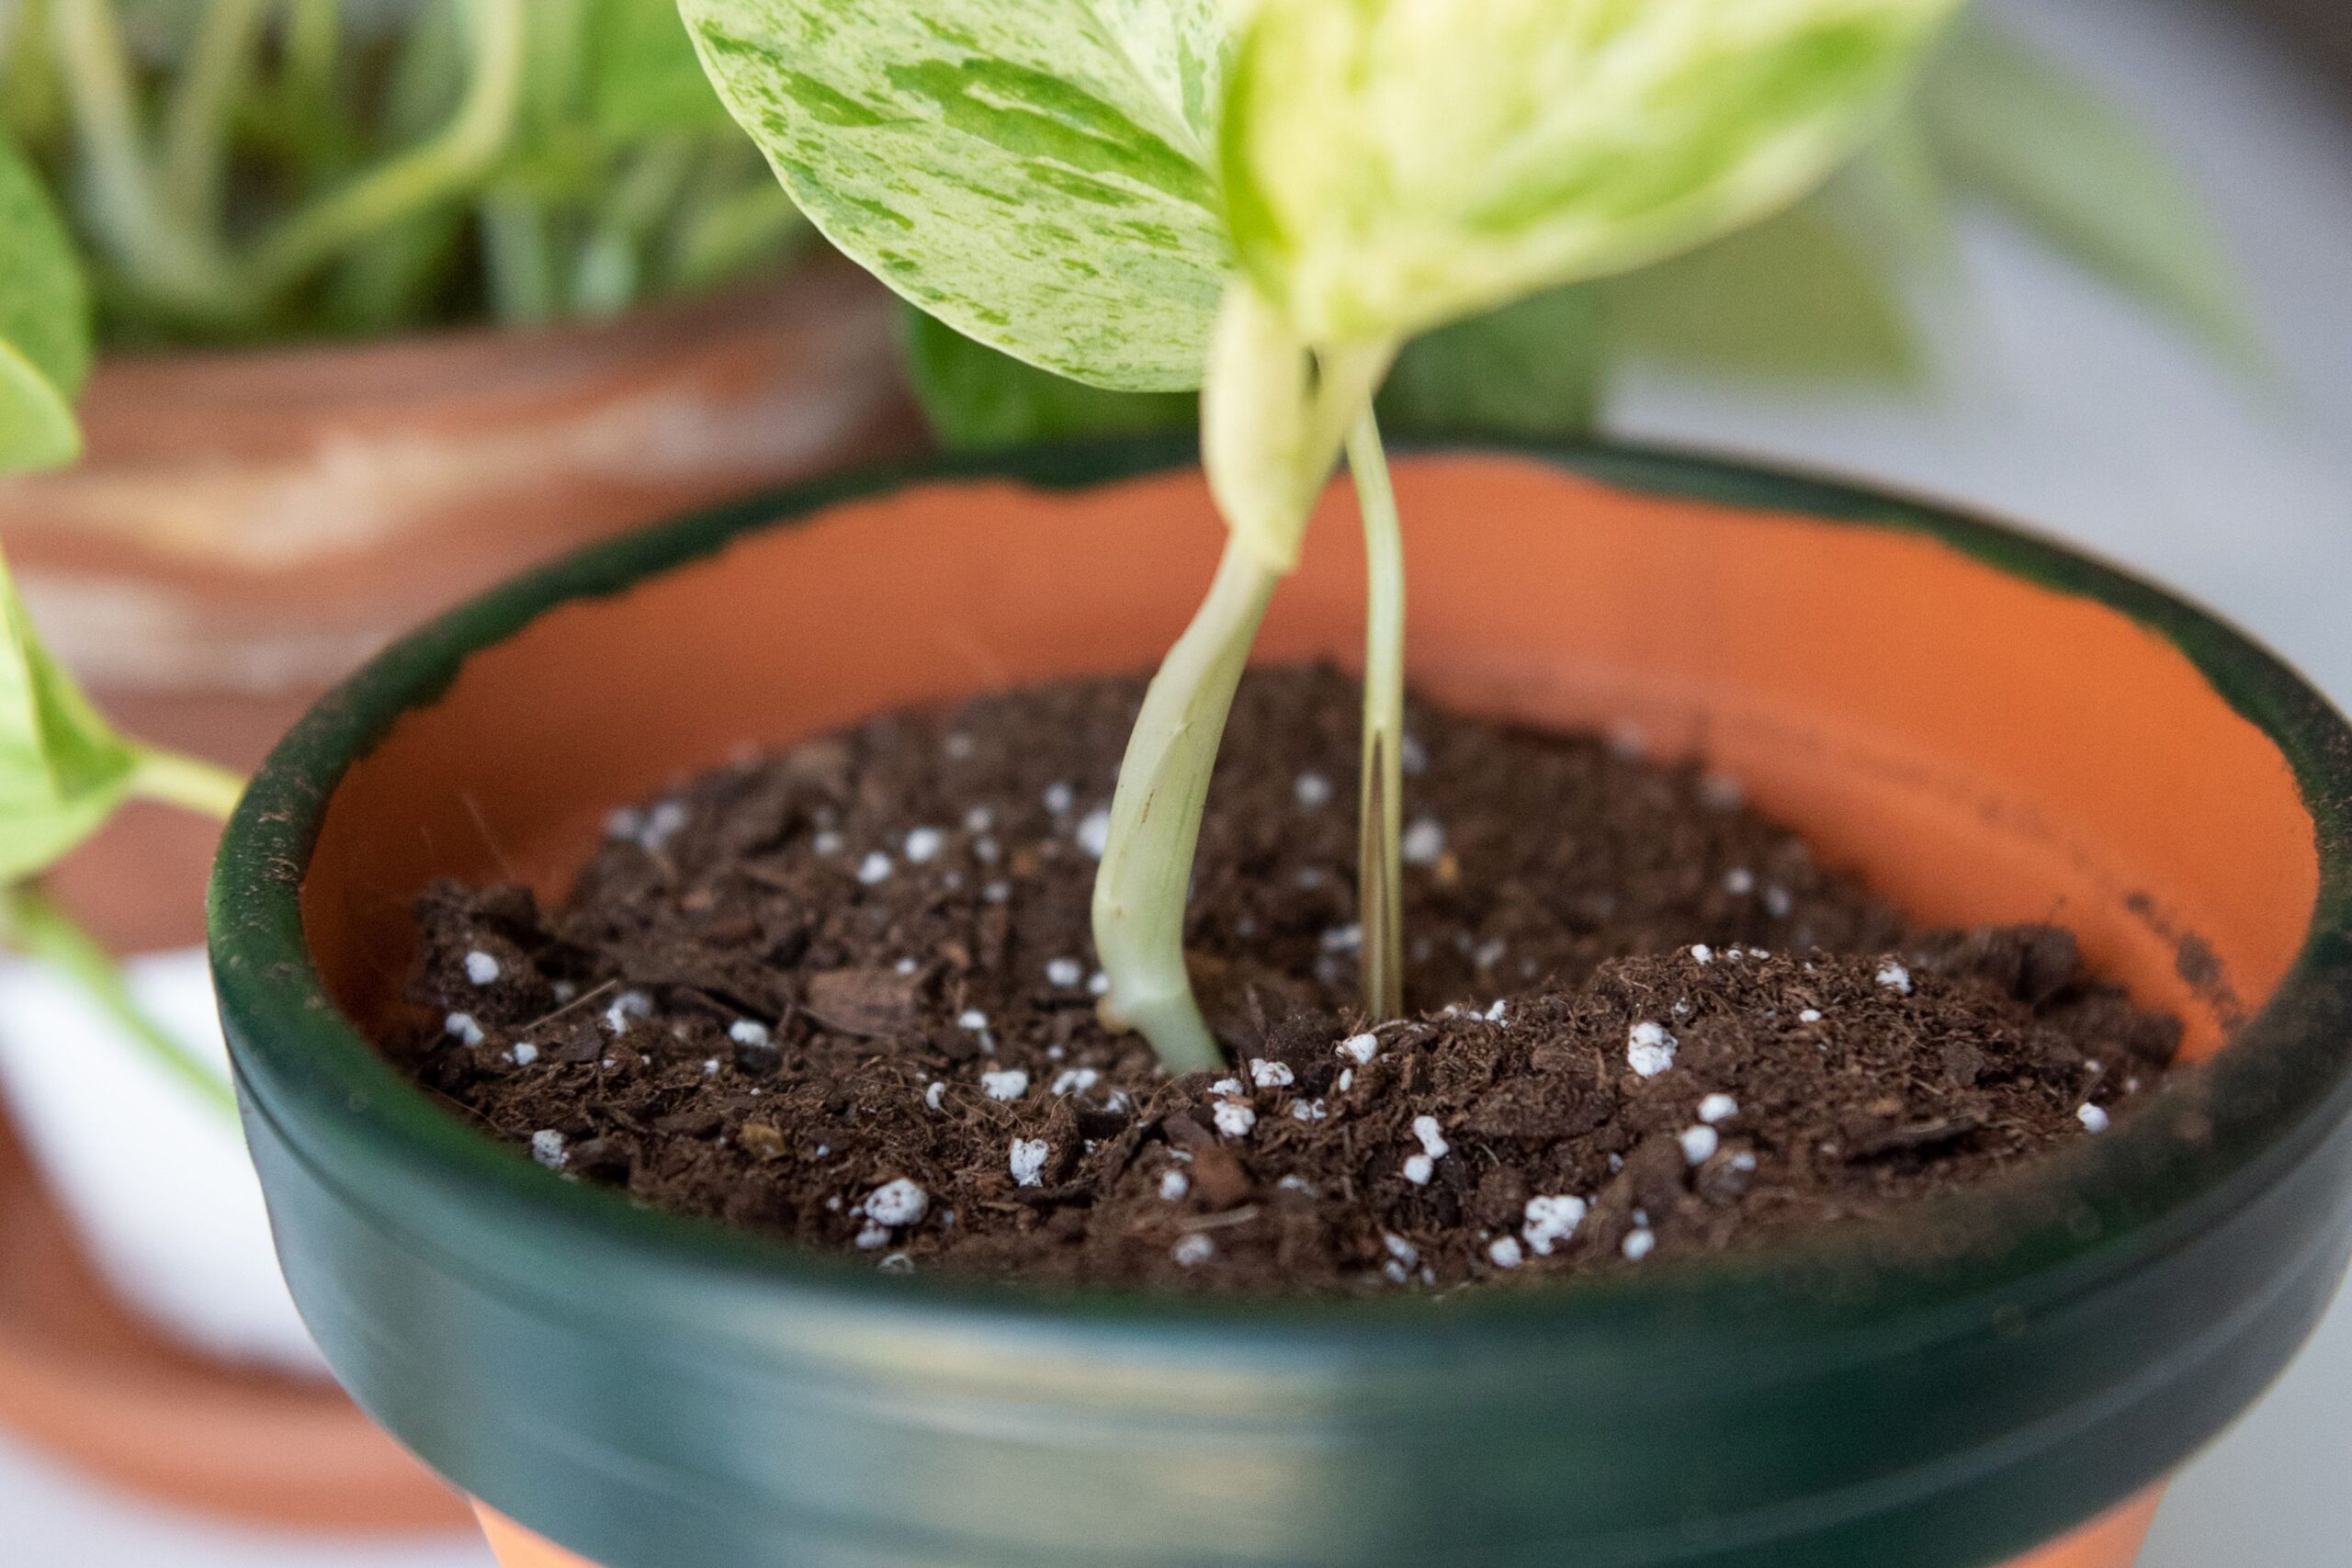
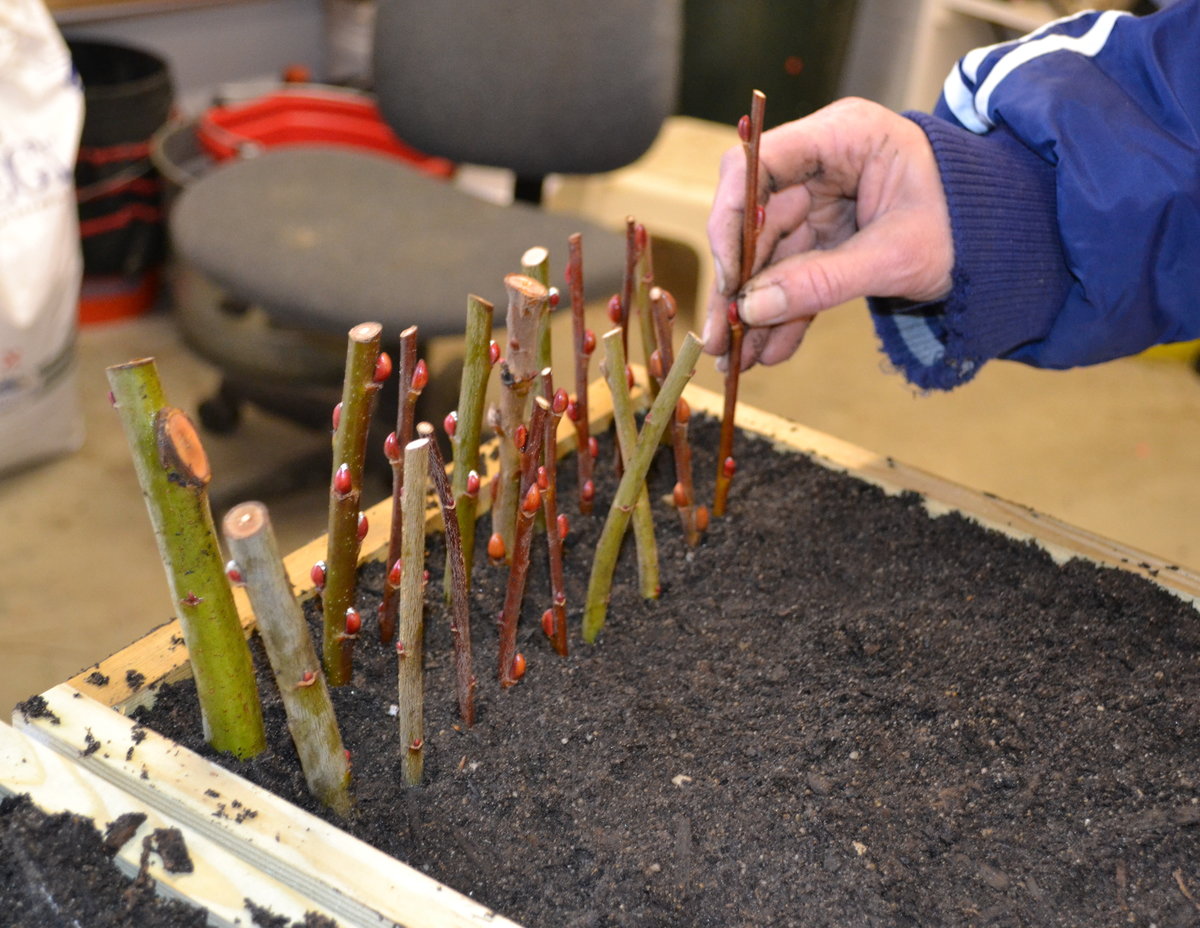
Make a hole in the potting mix using your finger or a pencil. Insert the cutting into the hole, ensuring that the cut end is buried about 2-3 inches deep. Firm the soil around the cutting to eliminate air pockets and provide stability.
Providing the right environment
Step 1: Watering
After planting the cuttings, water them thoroughly to settle the soil around the roots. It’s essential to keep the potting mix consistently moist but not waterlogged during the rooting process.
Step 2: Create humidity
To create a humid environment, cover the pots with a plastic bag or a clear plastic dome. This helps retain moisture and provides the cuttings with the humidity they need to thrive. Ensure that the cover does not touch the leaves, as this can lead to rot.
Step 3: Placement
Place the pots in a bright location with indirect sunlight. Avoid direct sunlight, as it can scorch the cuttings. A warm environment, ideally around 70°F to 75°F (21°C to 24°C), will encourage rooting.
Caring for the cuttings
Step 1: Monitor moisture
Check the moisture level of the potting mix regularly. It should remain moist but not overly wet. Mist the cuttings lightly if the air is dry, particularly if you live in a low-humidity area.
Step 2: Ventilation
Remove the plastic cover for a few hours each day to allow for air circulation. This helps prevent mold and allows the cuttings to acclimate to the surrounding environment. After a few weeks, gradually increase the time they are exposed to fresh air.
Step 3: Watch for roots
After about 4-6 weeks, gently tug on the cuttings to check for resistance, which indicates that roots are forming. If you feel resistance, that’s a good sign that your cuttings are rooting successfully. Be patient, as some cuttings may take longer than others.
Transplanting the cuttings
Step 1: Check root development
Once the cuttings have developed a good root system (usually 2-4 inches long), they are ready for transplanting. This typically occurs in late summer or early fall when the weather is still warm.
Step 2: Prepare for transplanting
Choose a planting site in your garden or larger pots that are at least 8-10 inches deep, with well-draining soil. Blueberries thrive in acidic soil (pH 4.5 to 5.5), so it’s a good idea to test your soil and amend it as necessary.
Step 3: Transplant carefully
Carefully remove the rooted cuttings from their containers, being cautious not to damage the roots. Plant them in the prepared site at the same depth they were growing in the pots, ensuring that the root system is well covered with soil.
Step 4: Water well
After transplanting, water the newly planted cuttings thoroughly to help them settle into their new environment. It’s crucial to keep the soil moist, especially during the first few weeks after transplanting, to encourage further root development.
Post-transplant care
Step 1: Mulching
Apply a layer of organic mulch around the base of the plants to help retain moisture and suppress weeds. Pine needles, wood chips, or straw work well for blueberries, as they also help to maintain soil acidity.
Step 2: Fertilization
Fertilize the young blueberry plants with a balanced fertilizer designed for acid-loving plants in early spring. Use a slow-release formulation to provide nutrients over time. Follow the package instructions for the correct application rates.
Step 3: Pruning
Prune the plants as needed to encourage bushier growth and remove any dead or damaged branches. Young blueberry plants benefit from light pruning to shape them and promote healthy growth.
Step 4: Monitor growth
Keep an eye on your new blueberry plants as they grow. Ensure they receive adequate water and sunlight, and be vigilant for any signs of pests or diseases. Common pests include aphids and spider mites, which can be controlled with insecticidal soap or neem oil.
Troubleshooting common issues

Poor root development
If your cuttings are not rooting well, check the moisture levels, light conditions, and the quality of your potting mix. Ensure the cuttings are not exposed to extreme temperatures or direct sunlight.
Mold or rot
If you notice mold growth or the cuttings appear to be rotting, this is often due to excess moisture. Ensure proper ventilation and reduce humidity by removing covers more frequently.
Pests
Keep an eye out for pests that may be attracted to your cuttings. If you see any pests, treat them promptly to prevent damage.
Conclusion
Here is detailed information about “how to propagate blueberry plants cutting”. Propagating blueberry plants from cuttings is a rewarding process that allows you to expand your garden with ease. By following the steps outlined in this guide, you can successfully create new blueberry plants that will bear delicious fruit for years to come. Remember to be patient and provide proper care during the rooting and transplanting phases. With time and attention, you’ll enjoy the fruits of your labor and a thriving blueberry garden that brings joy to your home. Happy gardening!

Related articles
Top 5 Spring Tree Pests: Identifying and Managing Common Threats
How to Grow Virginia Creeper: A Complete Guide
How to care for cyclamen from the expert
Detailed instructions: How to care for propagated plants
Understanding tree diseases: Identification, prevention, and treatment
Detailed instructions: How to care for fruit trees
Detailed instructions how to grow winter vegetables
How to propagate an aloe plant: a detailed guide to the methods