Orchids are one of the most beautiful and precious flowers in the plant world. With a variety of shapes, colors, and fragrances, orchids have become a popular choice for many ornamental plant lovers. Propagating orchids not only helps to increase the number of plants, but it also brings joy and satisfaction in witnessing their growth. Below is a detailed guide to orchid propagation methods, including branching, bulbous, pollination, seedling separation, seeding, cutting, cutting, cutting, and tissue culture.
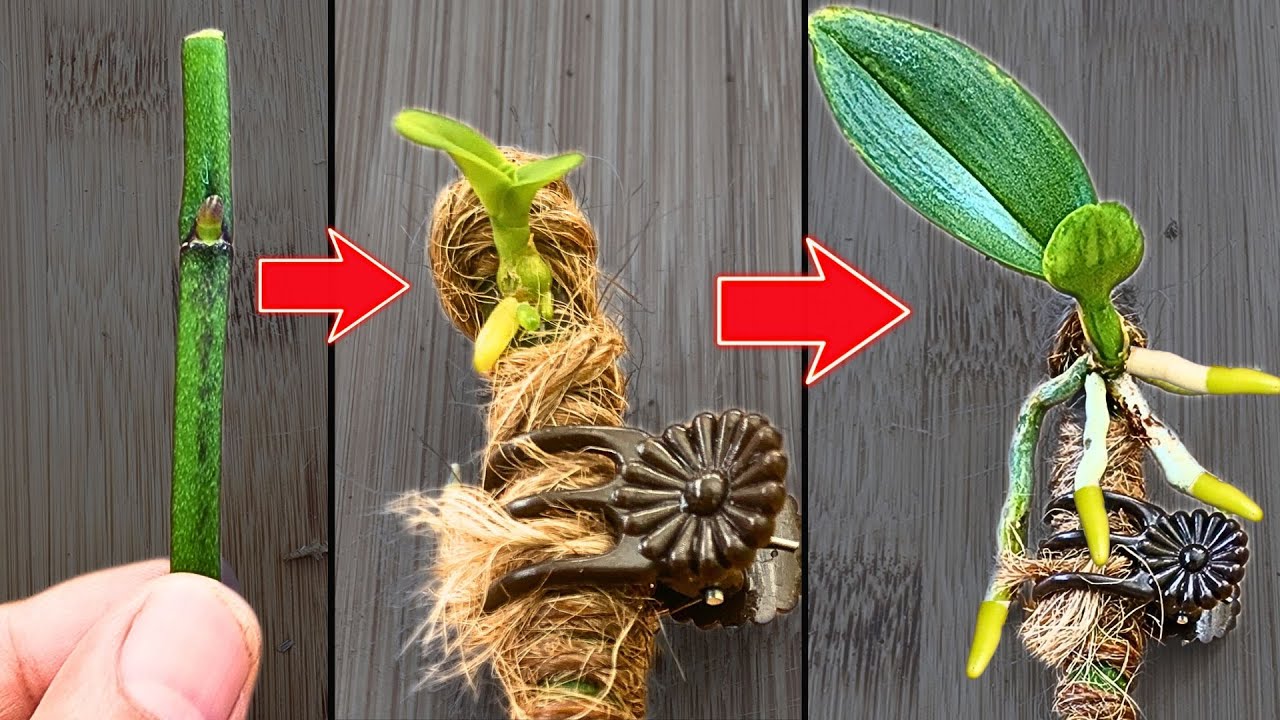
Orchids are some of the most captivating and diverse plants in the botanical world. Their stunning flowers, intricate structures, and unique adaptations make them favorites among gardeners and plant enthusiasts alike. While orchids can seem challenging to care for, propagating them can be a rewarding and enjoyable experience. Below are the details about “how to propagate an orchid plant”:
How to propagate an orchid plant – Understanding orchid propagation
Why propagate orchids?
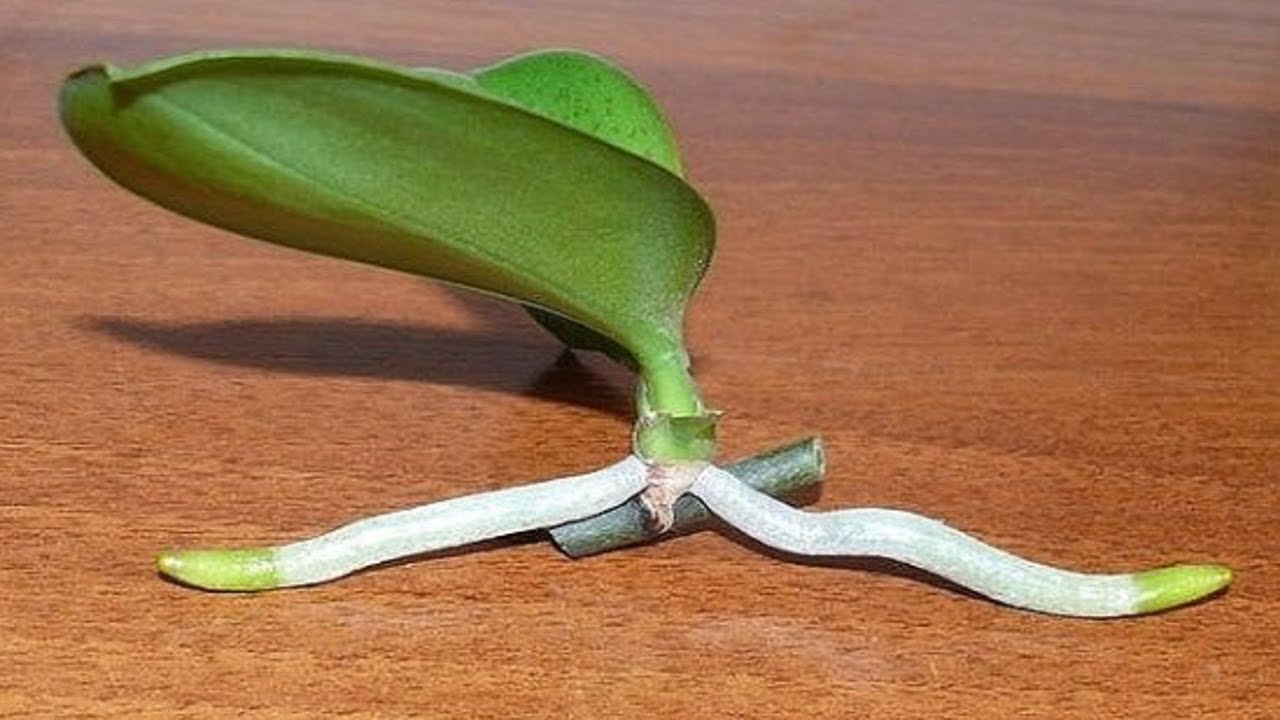
Propagation allows you to create new orchids from existing plants. This process not only helps expand your collection but also enables you to share your passion for orchids with friends and family. Additionally, propagating orchids can enhance your gardening experience by allowing you to learn more about the plants you love.
Benefits of propagating orchids
- Genetic consistency: By propagating from a healthy parent plant, you ensure that the new orchids will share the same desirable traits, such as flower color and growth habits.
- Cost-effective: Propagating your own orchids can save you money compared to purchasing new plants from nurseries.
- Control over cultivars: You can select specific cultivars that perform well in your growing conditions, allowing you to tailor your collection to your environment.
Types of orchids suitable for propagation
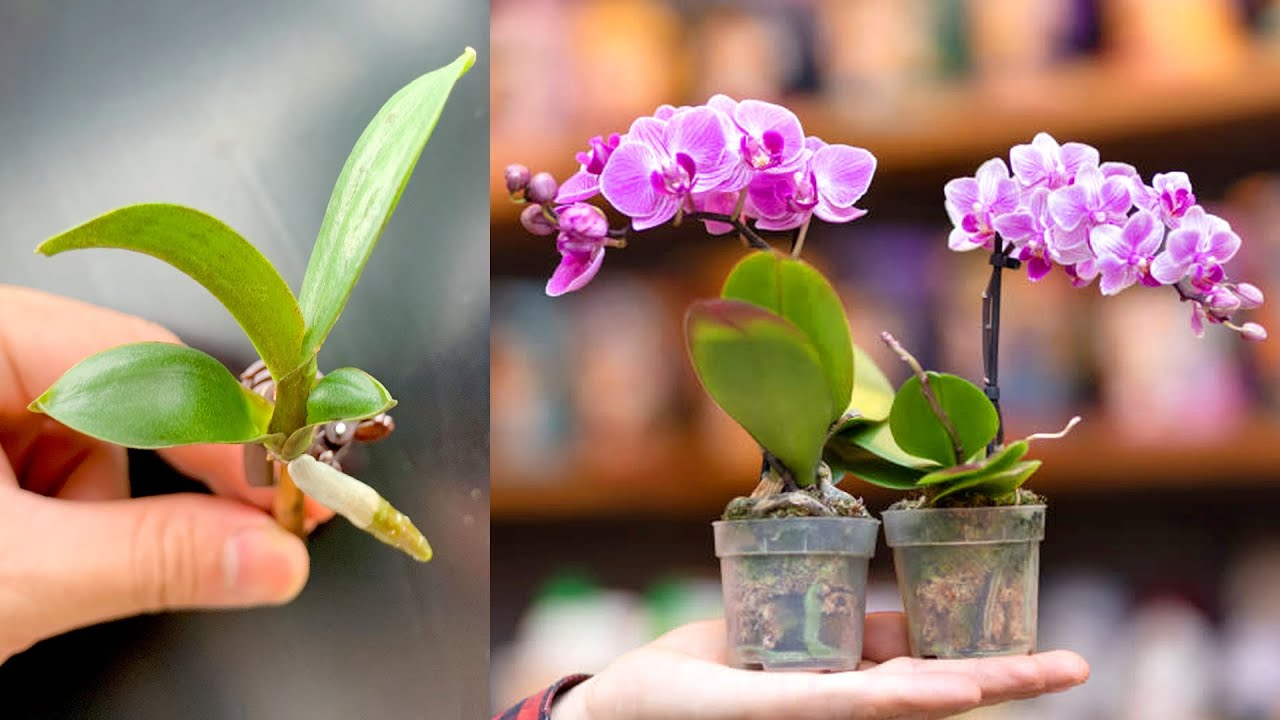
Not all orchids propagate easily, but many popular varieties can be successfully grown from cuttings, divisions, or keikis. Some of the most commonly propagated orchids include:
- Phalaenopsis (moth Orchids): Known for their long-lasting blooms and ease of care, Phalaenopsis orchids are one of the most popular types for beginners.
- Dendrobium: These orchids can produce a multitude of flowers and can be propagated from both keikis and divisions.
- Cattleya: Recognized for their large, fragrant flowers, Cattleya orchids can be propagated by division.
- Oncidium: Often called “Dancing Lady” orchids, Oncidiums can also be propagated by division.
- Paphiopedilum (Lady Slipper Orchids): These orchids are typically propagated by division due to their unique growth habits.
Preparing for propagation
Selecting the right time
The timing of propagation is critical for success. The best time to propagate orchids is during their active growing season, typically in spring or early summer. During this period, the plant is more resilient and capable of recovering from the stress of propagation.
Gathering materials
Before starting the propagation process, gather the following materials:
- Sharp, sterilized cutting tool: A pair of clean scissors or a sharp knife is essential to make precise cuts and prevent disease transmission.
- Potting medium: A suitable orchid potting mix, such as a mix of fir bark, sphagnum moss, and perlite, will provide the necessary drainage and aeration for the roots.
- Pots: Choose small pots with drainage holes to ensure that excess water can escape and prevent root rot.
- Plastic wrap or plastic bags: These can help create humidity around your cuttings if necessary.
- Rooting hormone (optional): This substance can encourage faster root development and improve the success rate of your cuttings.
Propagating orchids by division
Dividing orchids is one of the most common and effective methods of propagation, especially for mature plants that have outgrown their pots.
Step 1: Choose a healthy orchid
Select a healthy, mature orchid with multiple growths or pseudobulbs. Inspect the plant for signs of disease or pests, and make sure it is vigorous and thriving before attempting to propagate.
Step 2: Remove the orchid from its pot
Gently take the orchid out of its pot. If the plant is stuck, you may need to run water through the pot to help loosen the roots. Be cautious during this process to avoid damaging the root system.
Step 3: Inspect the roots
Examine the root system carefully. Healthy roots should be firm and plump, often green or white in color. Trim away any dead, mushy, or brown roots using sterilized scissors. This step is crucial to prevent rot in the newly propagated plants.
Step 4: Separate the plant
Using your hands or sterilized scissors, carefully separate the plant into smaller sections. Each section should have at least two pseudobulbs and healthy roots. Make sure that each division is substantial enough to thrive independently.
Step 5: Prepare the new pots
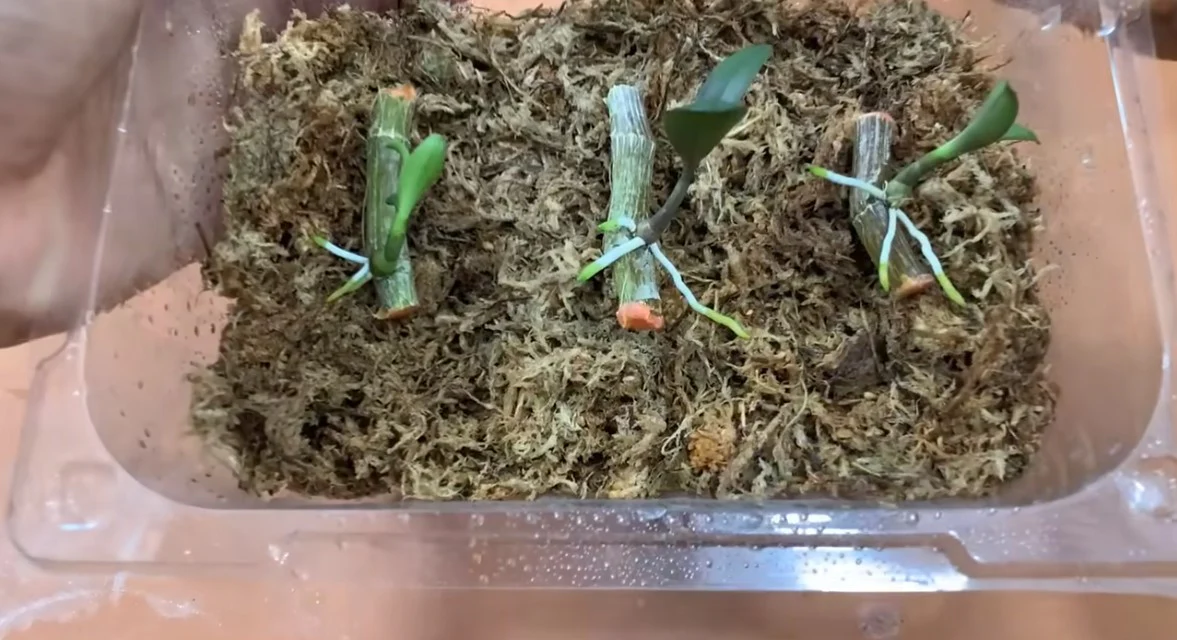
Fill the new pots with fresh orchid potting medium. Make a small hole in the center of the medium to accommodate the roots of the divided sections.
Step 6: Plant the divisions
Place the divisions in their new pots, spreading the roots out gently. Add potting medium around the roots, ensuring they are well-supported. Make sure not to bury the pseudobulbs; they should remain above the potting medium.
Step 7: Watering and care
After planting, water the newly potted orchids lightly to help settle the potting medium. Place them in a location with bright, indirect light and maintain humidity around the plants. Avoid overwatering, as the new roots will need time to establish.
Step 8: Monitoring growth
Over the next few weeks, keep an eye on the newly divided orchids. Look for signs of new growth, such as new leaves or roots. If the plants begin to wilt or show signs of stress, check the moisture levels in the potting medium and adjust your care accordingly.
Propagating orchids from keikis
Keikis are small plantlets that grow on the flower spike of certain orchids, particularly Phalaenopsis and Dendrobium species. This method is often simpler than division and can yield excellent results.
Step 1: Identify a keiki
Look for a healthy keiki on the flower spike. The keiki should have roots that are at least 2-3 inches long and preferably a few leaves. Keikis form when the parent plant produces a new growth at the node of a flower spike.
Step 2: Prepare your tools
Sterilize your cutting tool before use to prevent any potential diseases from affecting the keiki.
Step 3: Remove the keiki
Using your sterilized scissors, cut the keiki from the flower spike, ensuring you include a small portion of the spike if possible. Be gentle to avoid damaging the roots of the keiki.
Step 4: Potting the keiki
Fill a small pot with orchid potting mix. Create a hole in the center and place the keiki inside. Ensure that the roots are covered, but the leaves remain above the potting medium.
Step 5: Water and care
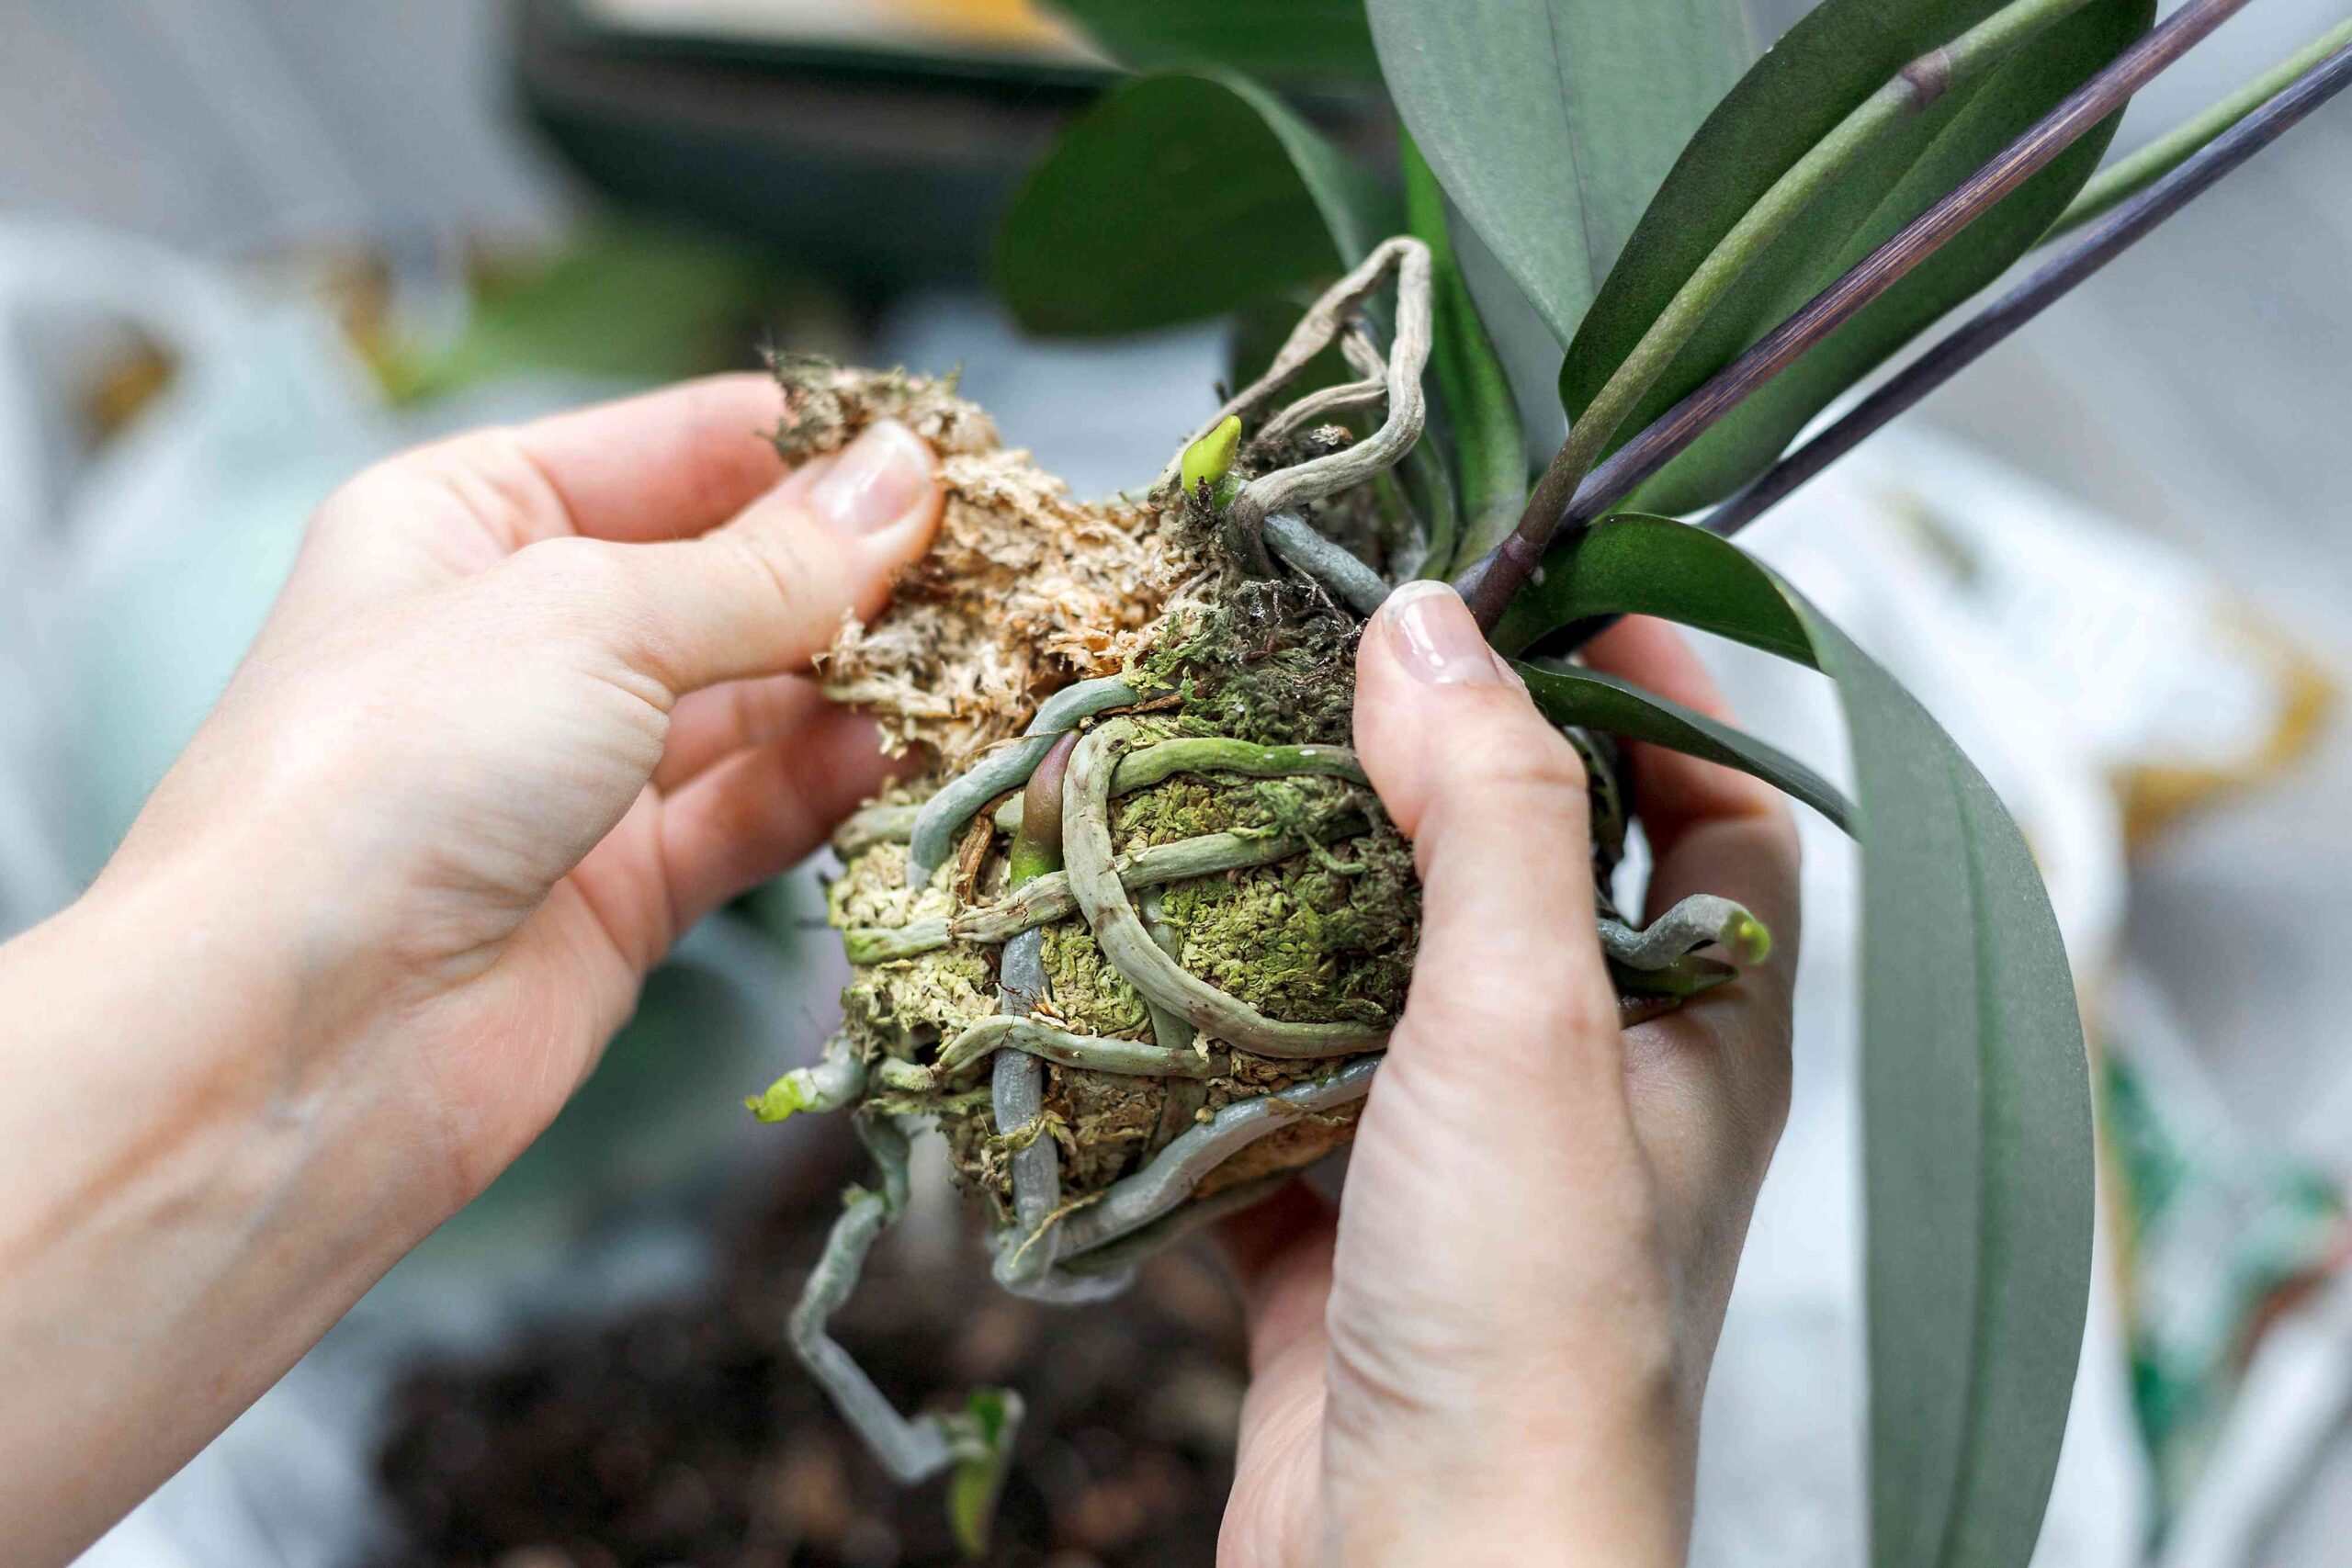
Water the keiki lightly and place it in a bright, warm location. To maintain humidity, you can cover the pot with a plastic bag or wrap, but ensure good airflow to prevent mold growth. Remove the cover gradually as the keiki establishes roots and begins to grow.
Step 6: Monitoring the keiki
Keep a close watch on the keiki over the following weeks. Look for new growth and ensure it has adequate moisture and light. Adjust care as necessary, and be patient, as establishing new plants can take time.
Seed propagation (advanced method)
Seed propagation is a more complex method suitable for experienced growers. This method requires sterile conditions, specialized media, and more time. Orchid seeds are incredibly tiny and do not contain the nutrients needed for germination; they rely on a symbiotic relationship with fungi in the wild.
Step 1: Collecting seeds
After the orchid flowers, wait for the seed pods to mature and dry. Collect the seeds when they are ripe, usually a few weeks after flowering. It’s essential to use sterile tools when handling the seeds to prevent contamination.
Step 2: Prepare a sterile medium
Prepare a sterile growth medium, such as agar or a specialized orchid seed mix. The medium must be free of pathogens to ensure successful germination.
Step 3: Sowing the seeds
Sow the seeds on the prepared medium in a sterile environment, such as a laminar flow hood. Lightly press the seeds into the medium without burying them. Make sure the seeds are evenly spaced to allow for growth.
Step 4: Providing conditions for germination
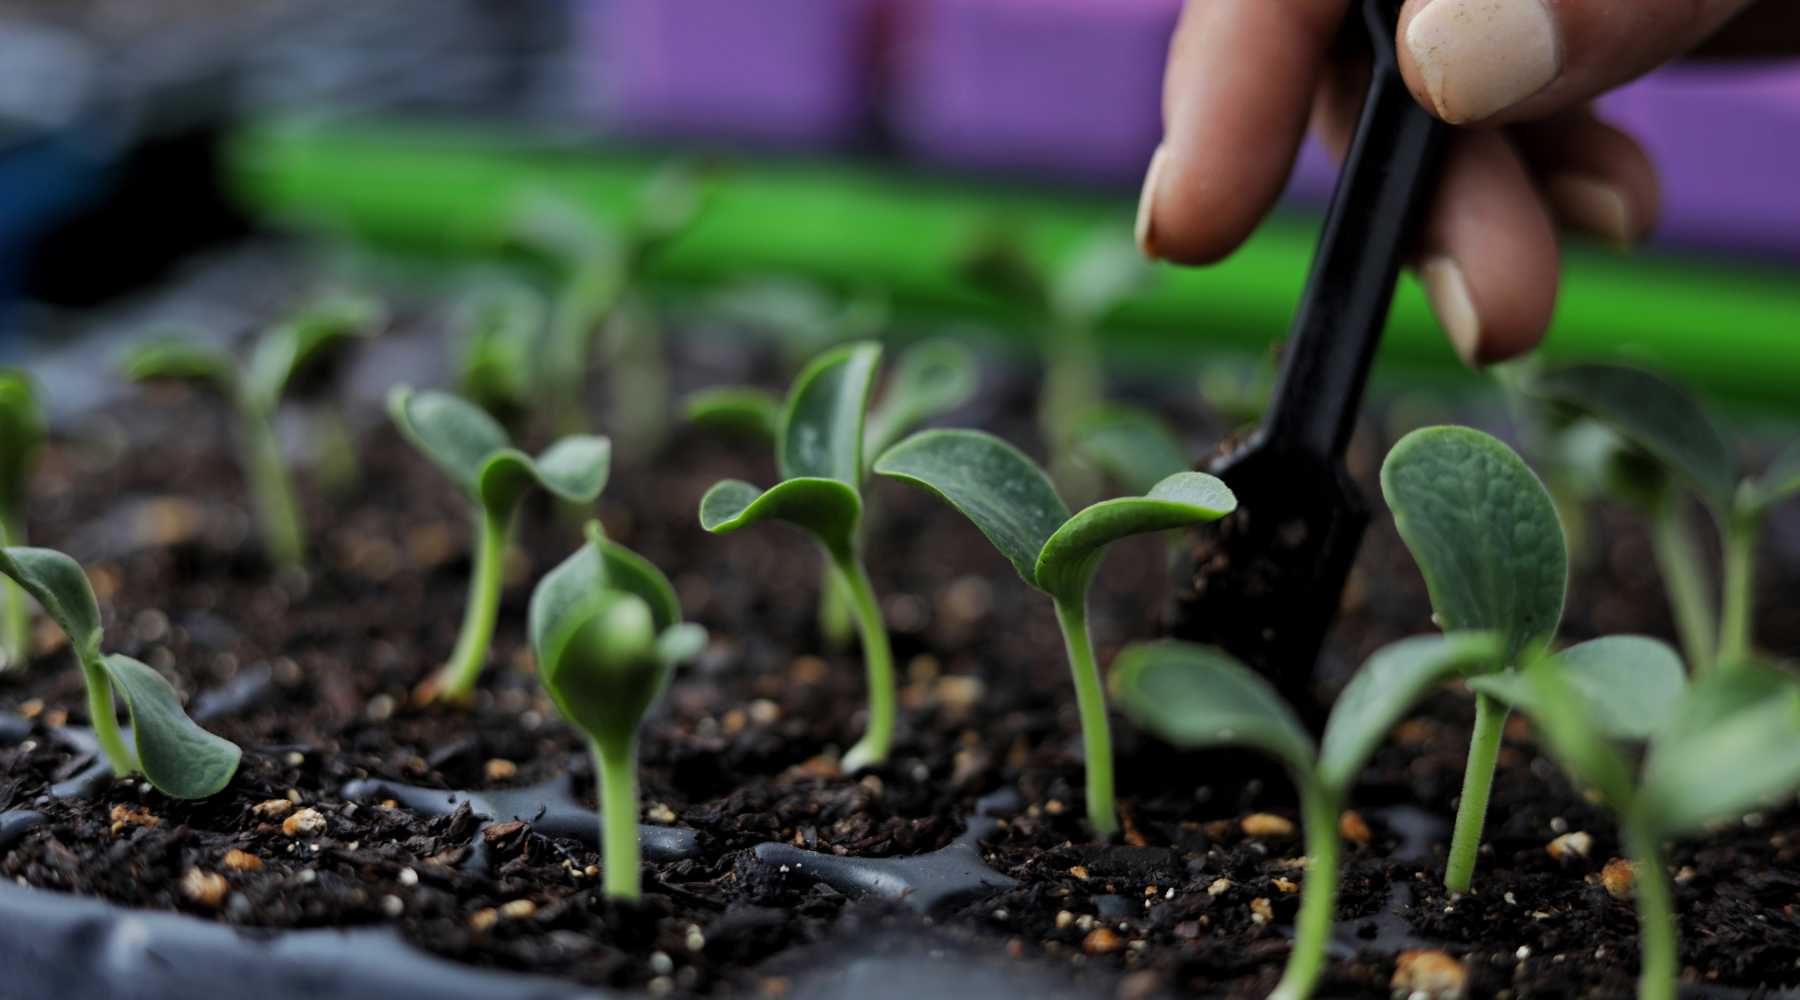
Cover the containers with plastic to maintain humidity and place them in a warm, bright location, away from direct sunlight. Germination can take several months, and seedlings will need careful care during this time.
Step 5: Transplanting seedlings
Once the seedlings have developed several leaves and a healthy root system (usually after a few months), they can be carefully transplanted into individual pots with orchid potting medium. Ensure the seedlings are properly spaced and provide them with the same care as other orchids.
Post-propagation care
After propagating orchids, whether by division, keiki, or seeds, it is essential to monitor moisture levels. Newly potted orchids should be watered lightly to avoid over-saturation. Allow the potting medium to dry slightly between waterings.
Light and humidity
Place your newly propagated orchids in a bright location with indirect light. Orchids thrive in high humidity, so consider using a humidity tray or misting the plants regularly. Maintaining humidity helps prevent stress and encourages healthy growth.
Fertilization
Once your orchids show signs of new growth (typically after a few weeks), you can begin fertilizing with a diluted orchid fertilizer. Use a balanced fertilizer designed for orchids and follow the manufacturer’s instructions for dosage. Fertilizing during the growing season will provide the nutrients needed for optimal growth.
Monitoring growth
Keep a close eye on your newly propagated plants for signs of stress, such as wilting leaves or discoloration. Ensure they are free from pests and diseases, and take action if any issues arise.
Common challenges and troubleshooting
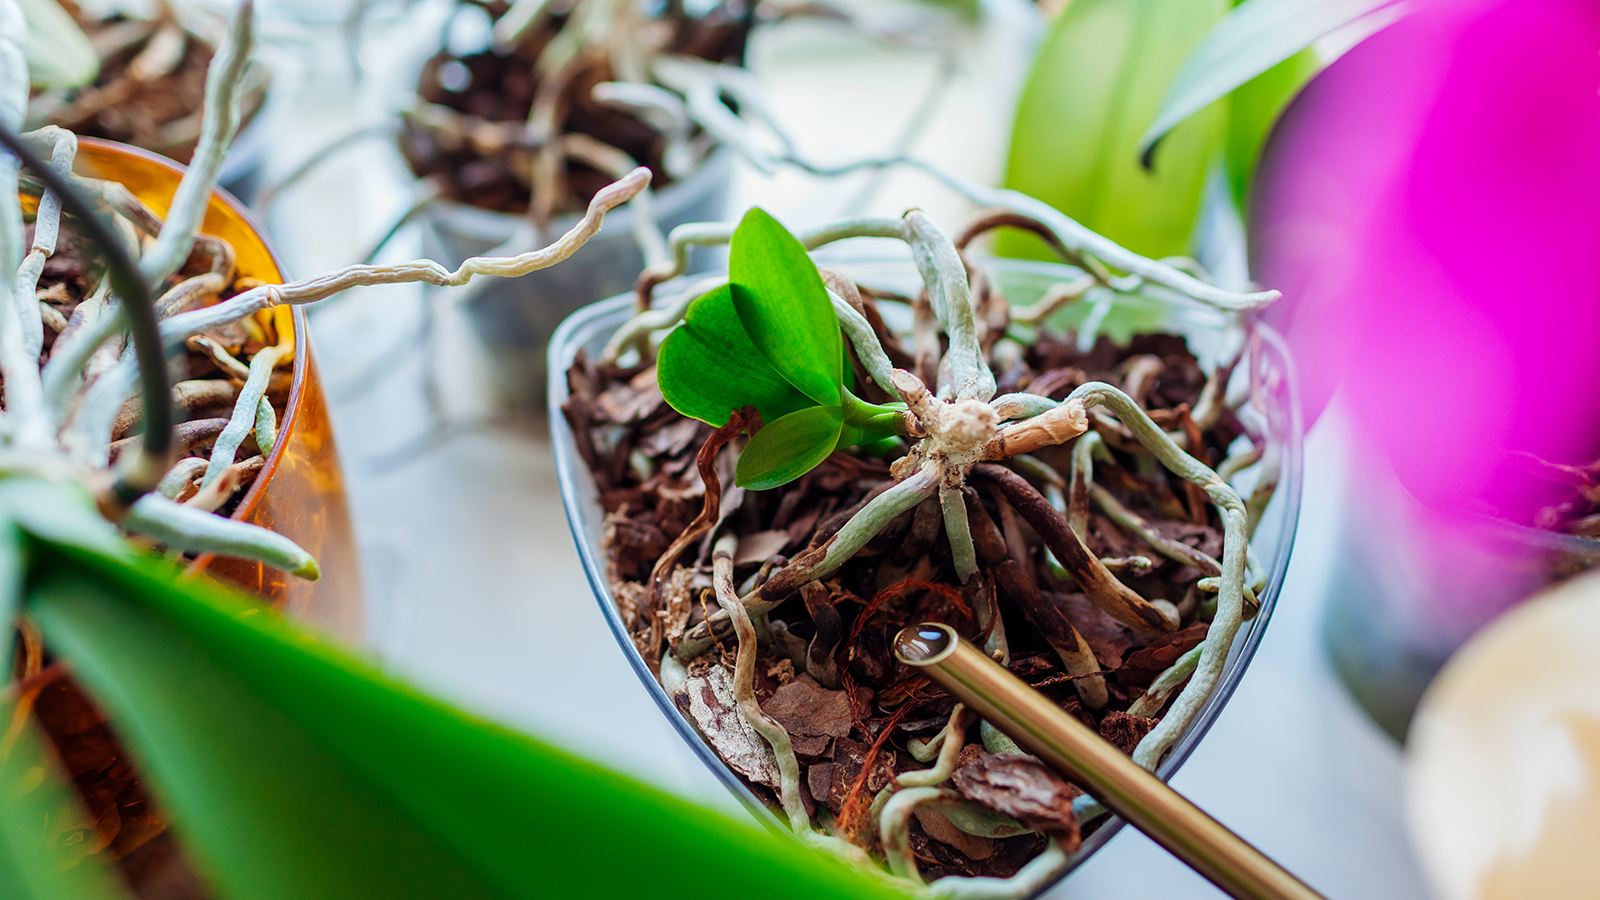
If your orchids show signs of root rot (brown, mushy roots), reduce watering and ensure the potting medium is well-draining. Trim away any affected roots and repot in fresh medium. Avoid overwatering and ensure good airflow around the roots.
Wilting leaves
Wilting can indicate underwatering or overwatering. Check the potting medium and adjust your watering schedule accordingly. If the leaves are limp but the medium is wet, it is likely overwatered.
Pests and diseases
Common pests include aphids, mealybugs, and scale. Treat infestations with insecticidal soap or neem oil. Regularly inspect your orchids for signs of pests and take preventive measures, such as keeping the growing area clean and ensuring good air circulation.
Mold or fungal issues
Mold can develop in overly humid conditions. Ensure good airflow around your plants and avoid covering them for extended periods. If mold develops, remove it gently and adjust care practices to reduce humidity.
Conclusion
Here is detailed information about “how to propagate an orchid plant”. Propagating orchids can be a fulfilling and educational experience that allows you to expand your collection and enjoy the beauty of these stunning plants. By following the detailed steps outlined in this guide, you can successfully propagate orchids through division, keikis, or seeds. With patience, attention to detail, and proper care, your propagated orchids will thrive and bring joy to your home. Embrace the challenge, and happy propagating!

Related articles
Top 5 Spring Tree Pests: Identifying and Managing Common Threats
How to Grow Virginia Creeper: A Complete Guide
How to care for cyclamen from the expert
Detailed instructions: How to care for propagated plants
Understanding tree diseases: Identification, prevention, and treatment
Detailed instructions: How to care for fruit trees
Detailed instructions how to grow winter vegetables
How to propagate an aloe plant: a detailed guide to the methods