Aloe vera, a beloved succulent, is well-known for its soothing gel and easy-care nature, making it a popular houseplant. Propagating aloe plants is not only a great way to expand your plant collection, but it’s also an excellent opportunity to share this wonderful plant with friends and family. Here are the details about “how to propagate an aloe plant”:
Why propagate aloe plants?
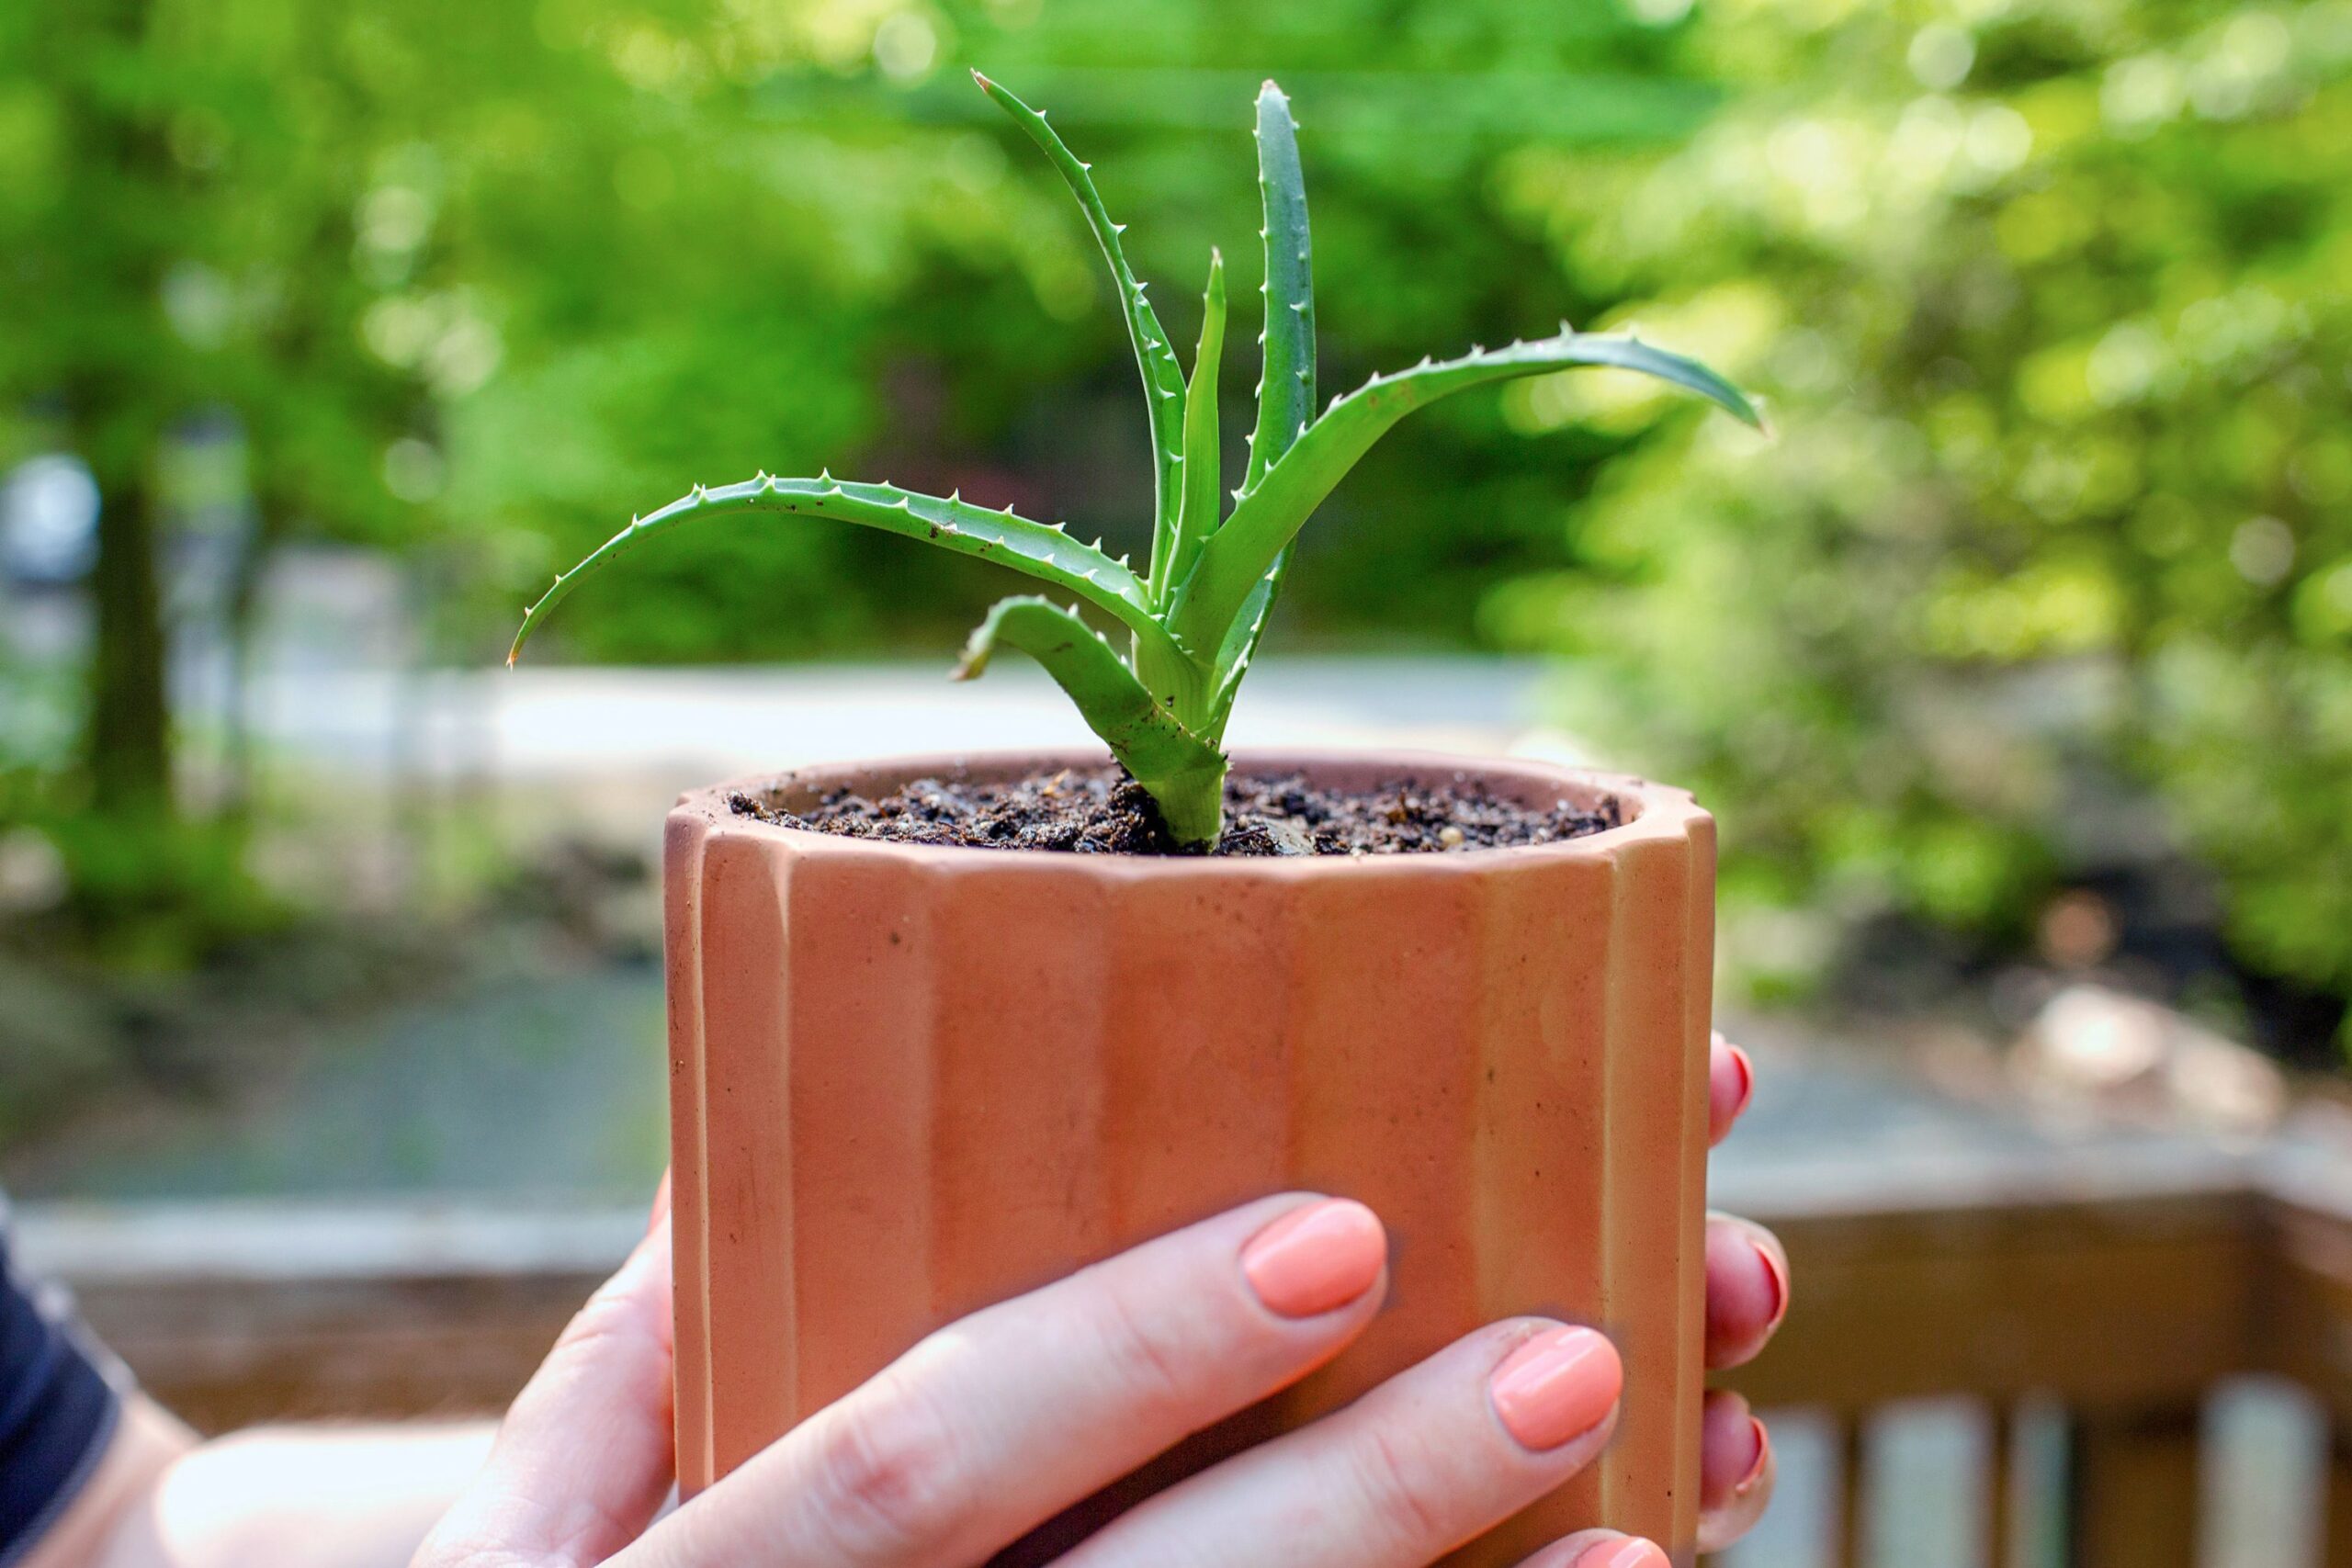
Benefits of propagation
- Cost-effective: Growing new plants from existing ones saves money compared to purchasing new plants from a nursery or store.
- Sharing and gifting: Aloe plants make thoughtful gifts, and propagating your own allows you to share the joy of gardening with friends and loved ones.
- Home decor: Expanding your aloe collection can enhance your home’s aesthetics, adding vibrant greenery and life to your living spaces.
- Learning experience: Propagation is a valuable gardening skill that helps you learn more about plant care, growth, and the specific needs of different species.
How to propagate an aloe plant – Understanding aloe vera growth
Before diving into propagation methods, it’s essential to understand how aloe plants grow. Aloe vera typically grows in a rosette shape, producing thick, fleshy leaves that store water. They thrive in warm, dry conditions and prefer bright, indirect sunlight. Understanding their growth pattern and needs can help you choose the best propagation method.
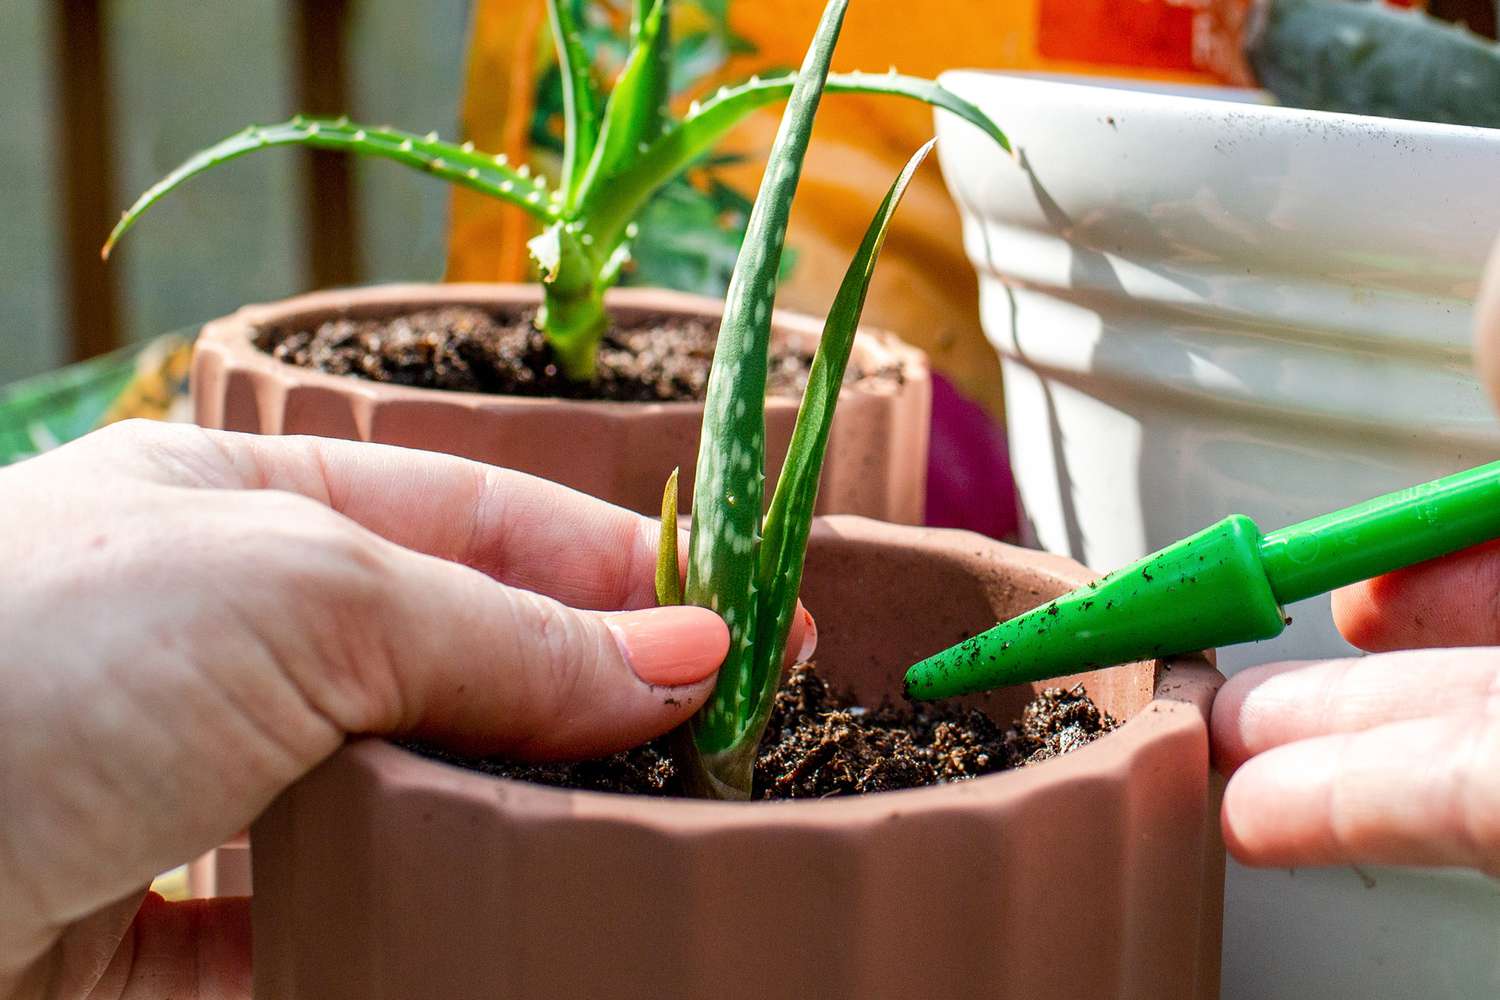
Aloe plants usually produce offsets or pups, which are small clones of the parent plant. These pups grow at the base of the mother plant and can be separated to create new plants. This natural method of reproduction makes aloe vera an ideal candidate for propagation.
Materials needed
Gather the following materials before starting the propagation process:
- Healthy aloe plant: Choose a mature, robust aloe plant with no signs of pests or diseases. Look for a plant with several pups or healthy leaves.
- Sharp knife or scissors: A clean, sharp tool is essential for making precise cuts to avoid damaging the plants.
- Clean pots: Use small pots with drainage holes for transplanting the new plants. Terracotta pots are excellent for succulents as they allow for good airflow and drainage.
- Well-draining potting mix: Use a potting mix designed specifically for cacti and succulents. Alternatively, you can create your own mix using equal parts of regular potting soil, sand, and perlite to ensure proper drainage.
- Water: Use room-temperature distilled or filtered water to avoid introducing chemicals that may harm your plants.
- Rooting hormone (optional): While not necessary, rooting hormone can encourage faster root growth when propagating leaf cuttings.
Methods of propagating aloe plants
Here are the details:
Method 1: Propagating aloe from offsets (pups)
Offsets, or pups, are small plants that grow around the base of the main aloe plant. This is the easiest and most common method of propagating aloe.
Step 1: Identify healthy offsets
- Locate offsets: Look for healthy pups that are at least a few inches tall and have developed their own roots. They should appear firm and green, indicating good health.
Step 2: Remove offsets
- Prepare the parent plant: Gently remove the parent aloe plant from its pot to expose the offsets. Be careful to avoid damaging the roots of both the parent plant and the pups.
- Cut the offset: Using a sharp knife or scissors, cut the offset away from the main plant, making sure to include some roots. A clean cut minimizes damage and promotes quicker healing.
- Callus the cut: Allow the cut end of the offset to dry and callus for about 24 hours in a dry, shaded location. This step is crucial for preventing rot when the pup is planted in soil.
Step 3: Plant the offsets
- Prepare the pot: Fill a small pot with well-draining potting mix, leaving about an inch of space at the top to avoid overflow when watering.
- Plant the offset: Make a small hole in the soil and gently place the pup into the hole, covering the roots with soil. Ensure that the base of the pup is level with the soil surface.
- Water lightly: Water the newly planted offset lightly, just enough to moisten the soil without soaking it. Aloe plants prefer dry conditions, so it’s better to err on the side of underwatering.
- Provide proper light: Place the pot in a location with bright, indirect sunlight. Avoid direct sunlight for a few weeks to help the new pup acclimate to its environment.
Method 2: Propagating aloe from leaf cuttings
While less common, aloe can also be propagated from leaf cuttings. This method typically takes longer for roots to develop compared to offsets.
Step 1: Choose a healthy leaf
- Select a leaf: Pick a thick, healthy leaf from the mother plant, ideally one that is not too young or too old. The leaf should be firm, free from blemishes, and plump.
Step 2: Cut the leaf
- Make the cut: Using a clean knife or scissors, cut the leaf close to the base of the plant. If desired, you can cut the leaf into smaller sections of 4 to 6 inches long. Each section can potentially grow into a new plant.
- Callus the cut: Allow the cuttings to dry and callus for 24 to 48 hours. This process helps to prevent rot and encourages healthy root development.
Step 3: Plant the leaf cuttings
- Prepare the pot: Fill a small pot with well-draining potting mix.
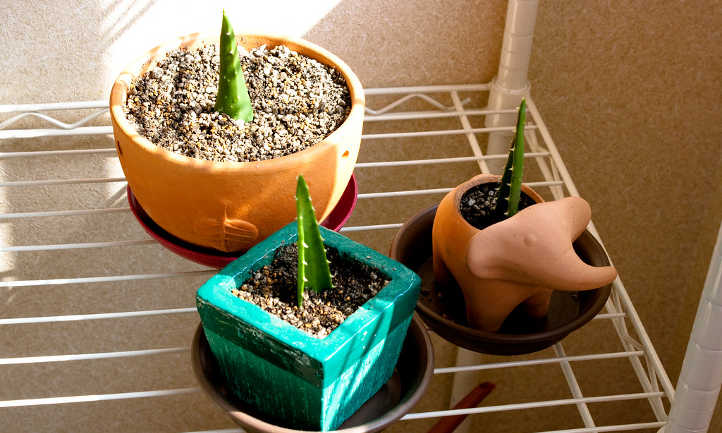
- Insert the cuttings: Insert the callused end of the leaf cutting into the soil, burying it about an inch deep. Make sure to position the cuttings upright to promote proper growth.
- Water sparingly: Lightly water the soil to ensure it is moist but not soggy. Overwatering can lead to rot, so it’s essential to strike a balance.
- Provide bright, indirect light: Place the pot in a location with bright, indirect sunlight. Avoid direct sunlight until the cuttings have established roots.
Caring for newly propagated aloe plants
Once you’ve propagated your aloe plants, proper care is crucial to their successful growth:

Watering
- Water sparingly: Aloe plants are succulents that prefer dry conditions. Allow the soil to dry out completely between waterings. Typically, watering every 2 to 3 weeks is sufficient, but this may vary depending on the humidity and temperature of your environment.
- Signs of overwatering: If you notice yellowing leaves or a mushy texture, it may be a sign of overwatering. In this case, reduce the frequency of watering and ensure that the pot has adequate drainage.
Light requirements
- Bright, indirect light: Aloe plants thrive in bright, indirect light. They can tolerate some direct sunlight, but prolonged exposure may scorch their leaves.
- Adjusting light conditions: If your aloe plants are becoming leggy or leaning toward the light, they may not be receiving enough sunlight. Consider relocating them to a brighter area.
Fertilizing
- Nutrient needs: Aloe plants have low fertilizer requirements. After a few months of growth, you can fertilize them with a diluted, balanced, water-soluble fertilizer specifically formulated for succulents.
- Frequency: Fertilize during the growing season (spring and summer) once every 4 to 6 weeks. Avoid fertilizing during the dormant winter months, as this can lead to root burn.
Monitoring growth
- Healthy growth indicators: Keep an eye on the growth of your new plants. Healthy aloe plants will produce firm, plump leaves. If the leaves are becoming thin or discolored, assess your care routine.
- Potting Up: As the new plants grow, they may outgrow their initial pots. When roots begin to grow out of the drainage holes or the plant appears root-bound, it’s time to repot into a larger container.
Common challenges and troubleshooting
Here are the details:
Rotting cuttings
- Cause: If your cuttings or pups are rotting, it is likely due to excessive moisture. Ensure that the potting mix is well-draining and avoid overwatering.
- Solution: If you notice rot, you may need to cut away the affected areas and allow the healthy portions to callus before replanting.
Slow or no root growth
- Cause: This can occur if the cuttings are not receiving enough light or if the environment is too cold.
- Solution: Ensure the cuttings are placed in a warm, bright location with plenty of indirect sunlight. If necessary, consider using a heat mat to maintain optimal temperatures for rooting.
Leaves turning yellow
- Cause: Yellowing leaves can indicate overwatering or insufficient light.
- Solution: Adjust your watering schedule, allowing the soil to dry out more between waterings. If the plant is not receiving enough light, consider relocating it to a brighter spot.
Pest issues
- Common pests: Aloe plants can occasionally fall victim to pests such as aphids, mealybugs, and spider mites.
- Prevention and treatment: Regularly inspect your plants for signs of pests. If you notice any, treat the infestation promptly with insecticidal soap or neem oil. Maintaining good air circulation around your plants can help prevent pest issues.
Conclusion
Here is detailed information about “how to propagate an aloe plant”. Propagating aloe plants is a simple yet rewarding endeavor that can enhance your gardening skills and expand your collection. Whether you choose to propagate from offsets or leaf cuttings, following these detailed steps will help ensure your new aloe plants thrive. With the right care and attention, your propagated aloes will flourish, adding beauty and health benefits to your home for years to come.
Happy propagating! Enjoy the process and the satisfaction that comes from nurturing your plants into new life.

Related articles
Top 5 Spring Tree Pests: Identifying and Managing Common Threats
How to Grow Virginia Creeper: A Complete Guide
How to care for cyclamen from the expert
Detailed instructions: How to care for propagated plants
Understanding tree diseases: Identification, prevention, and treatment
Detailed instructions: How to care for fruit trees
Detailed instructions how to grow winter vegetables
How to propagate an aloe plant: a detailed guide to the methods