Azaleas stand out as some of the most stunning and sought-after flowering shrubs, yet buying new plants can be pricey. A budget-friendly method to grow your azalea collection is by propagating them from cuttings. While propagating azaleas might seem intimidating at first, it’s surprisingly straightforward. This guide will walk you through the simple steps of how to grow azaleas from cuttings.

The best time to take azalea cuttings
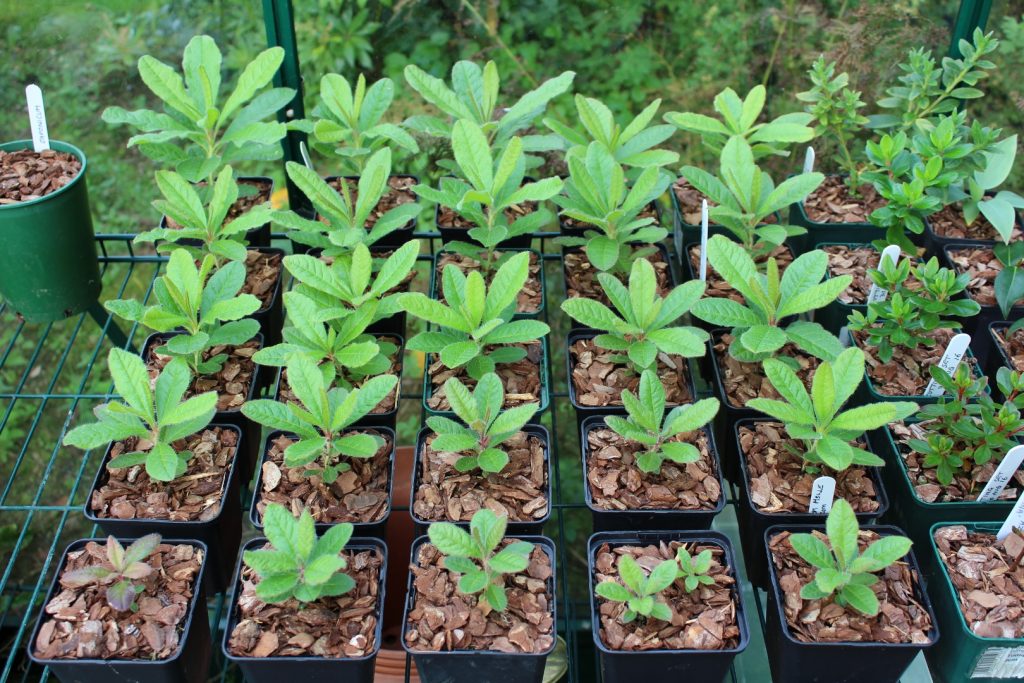
Taking Azalea cuttings is typically done in early summer, ideally in the morning for optimal conditions.
For evergreen Azaleas, select cuttings when the new spring growth has started to firm up but isn’t fully hardened. It’s essential to observe your plants closely to determine the right timing.
To gauge readiness, test the flexibility and color of the new growth. The ideal cuttings should bend easily but not be overly rubbery around 90 degrees without snapping. Look for wood that is predominantly pale or green, avoiding any brown areas.
Preparing to Propagate Azaleas from Cuttings

To successfully propagate azaleas from cuttings, thorough preparation is essential. Here’s a detailed guide on how to get started:
Selecting Healthy Azaleas
Begin by choosing vigorous and healthy azalea plants for taking cuttings. It’s crucial that the parent plants are well-hydrated, as hydrated cuttings root more easily. Look for younger plants, as they generally have a higher success rate for propagation compared to older, more established plants. Ensure that the selected plants are free from any signs of disease or stress, such as wilting, discoloration, or pest infestation.
Gather the Necessary Tools
Having the right tools on hand is vital for successful propagation:
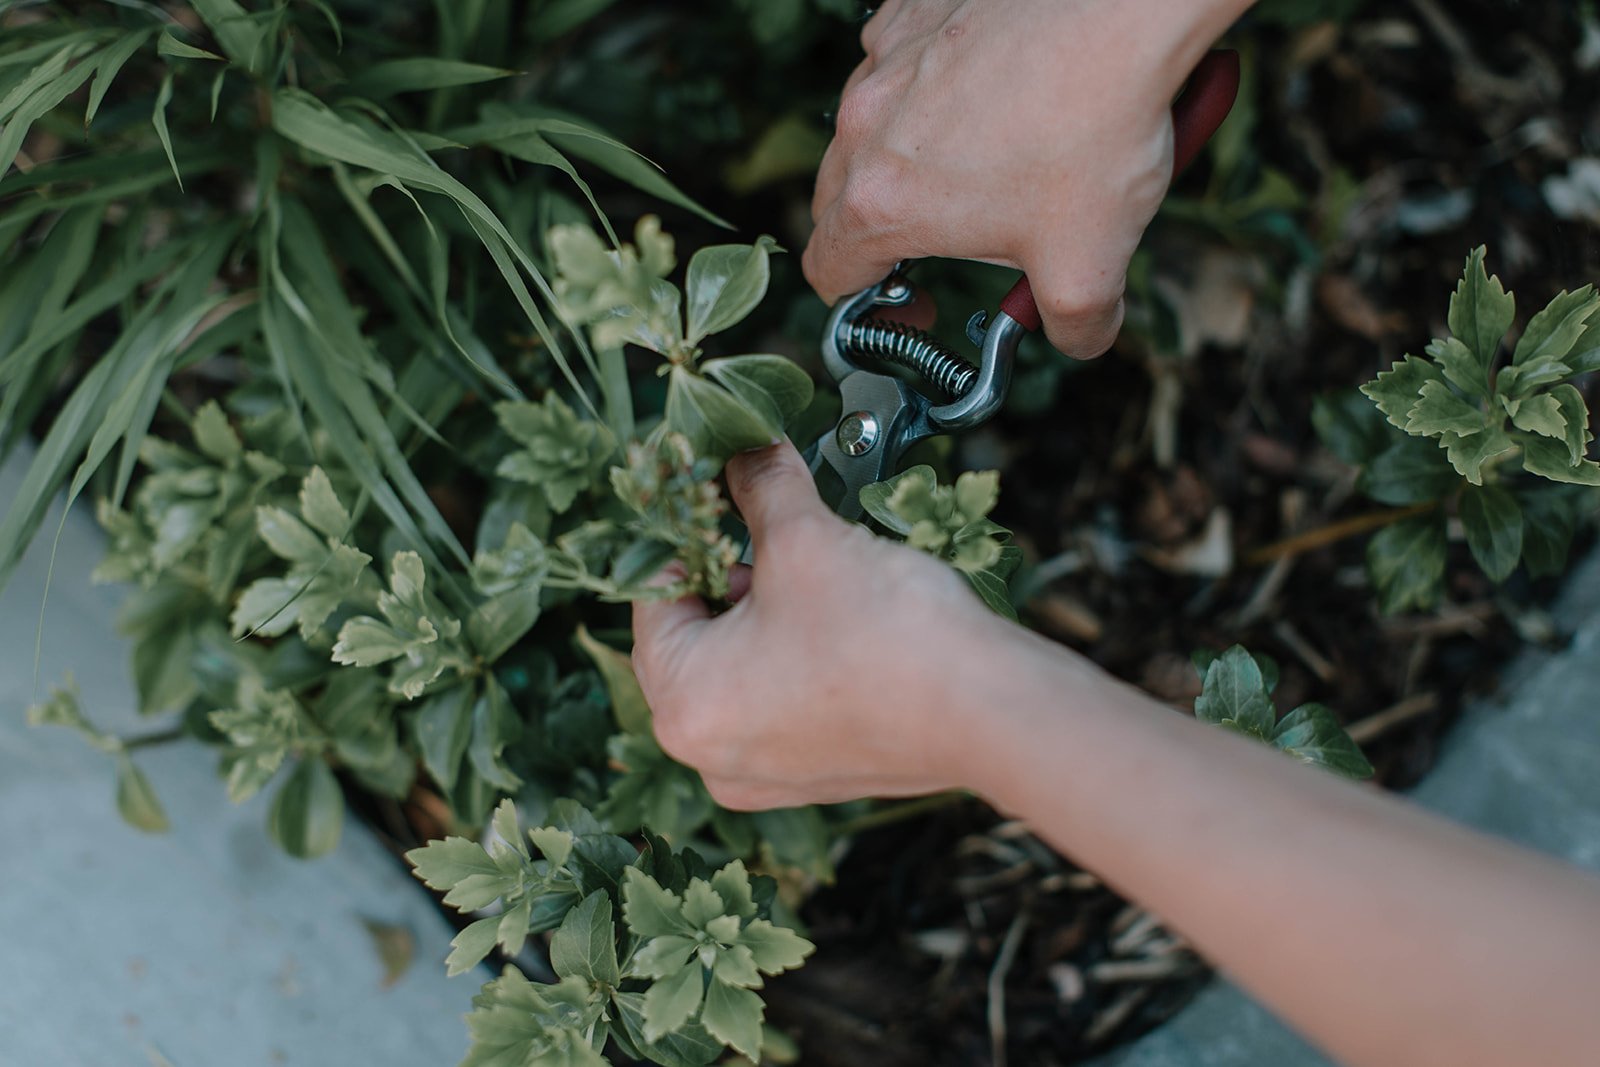
- Shears or Pruners: Use clean, sharp shears or pruners to take the cuttings from the azalea plant. Sharp tools ensure a clean cut, which is important for the health of the cutting. Dull tools can crush the stems, making it harder for the cutting to root.
- Sharp Knife or Razor Blade: After taking the cutting, use a sharp knife or razor blade to trim it just below a leaf node. Removing excess leaves and making a small wound at the base of the cutting helps to expose the cambium layer, which is where root growth will occur. This step is crucial for promoting the development of roots.
- Bleach or Fungicide/Insecticide (optional): To prevent the spread of diseases, clean all tools, containers, and work surfaces with a diluted bleach solution (about 10% bleach in water). Alternatively, you can use a fungicide or insecticide specifically formulated for plants to treat the cuttings before planting. This extra precaution helps ensure that your cuttings remain healthy during the rooting process.
Prepare Containers
The right containers are key to successful rooting:
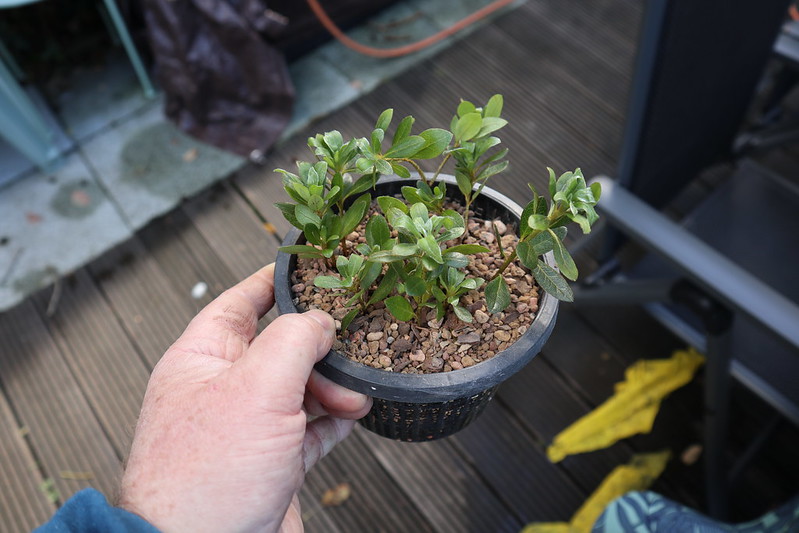
- Containers with Drainage Holes: Choose containers that provide adequate drainage to prevent water from accumulating and causing root rot. You can use individual pots for each cutting or group several cuttings together in a larger container. For instance, a six-inch pot can hold approximately six cuttings, while a gallon-sized flat can accommodate ten to twelve cuttings. Ensure the containers are clean and free of any debris or old soil that could harbor disease.
- Sterile Rooting Medium: Use a well-draining rooting medium to plant your azalea cuttings. A commonly recommended mix is 50% sphagnum moss and 50% perlite or vermiculite. This combination provides the right balance of moisture retention and drainage. Optionally, you can add a small amount of sand or pine bark to further improve drainage. Avoid using old potting soil, as it can carry diseases that may harm the cuttings.
Optional Materials
Consider using these optional materials to enhance the propagation process:
- Rooting Hormone (optional): Although evergreen azaleas often root without assistance, using a rooting hormone can be beneficial, particularly for more challenging cuttings like those from deciduous azaleas. Dip the base of each cutting in the rooting hormone before planting to stimulate root growth and increase the chances of successful propagation.
- Clear Plastic Bags, Bottles, or Containers: To create a humid environment around the cuttings, cover them with clear plastic bags, bottles, or containers. This acts as a mini-greenhouse, maintaining the high humidity levels necessary for successful rooting. Ensure that the plastic does not touch the leaves, as this could lead to mold or rot. Regularly check the moisture level inside the covering and ventilate if necessary to prevent excessive humidity.
How to Grow Azaleas from Cuttings
Propagating azaleas from cuttings is an effective way to expand your garden. Here’s a detailed guide on how to do it successfully:

Cleaning and Sanitizing
Before starting, it’s crucial to sanitize your tools and containers to protect your cuttings from diseases and fungi. Here’s how to do it:
- Sanitize Tools: Soak your pruners, knife, and containers in a solution of 5-10% bleach for a few minutes. This will kill any pathogens that might be lurking on the surfaces. After soaking, rinse thoroughly with clean water to remove any bleach residue that could harm the cuttings.
- Prepare Cuttings: For the cuttings themselves, rinse off any dirt under running water. You can also soak them in a 5% bleach solution for about three minutes to disinfect them. After soaking, rinse the cuttings thoroughly to ensure they are clean and free from any potential pests or contaminants.
Selecting and Cutting
Selecting the right part of the plant for cuttings is vital for successful propagation:
- Choose the Right Cuttings: Select cuttings that are between two to five inches long, ideally taken from the tips of branches where new growth is abundant. These areas are more likely to root successfully. Make your cuts just below a leaf node or where a leaf attaches to the stem. This is because leaf nodes contain a higher concentration of hormones that encourage root development.
Preventing Wilting
To keep the cuttings healthy and prevent wilting before planting, treat them with care:
- Keep Cuttings Hydrated: Treat cuttings like fresh flowers to keep them hydrated. Immediately after cutting, place them in a container of water to prevent them from drying out. If you’re not planting them right away, keep the cuttings cool by placing them in a cooler or refrigerating them for up to 24 hours. Before refrigerating, rinse the ends of the cuttings, shake off any excess water, and store them in a plastic bag to maintain moisture levels.
Trimming the Cuttings

Proper trimming is important to reduce moisture loss and encourage rooting:
- Trim to Size: Ensure each cutting is between two to five inches long. Remove the leaves from the lower half of the cutting, leaving at least three leaves at the top intact. This reduces the area where the cutting can lose moisture while still allowing it to photosynthesize. If the remaining leaves are large, consider trimming them in half to further reduce moisture loss. Additionally, remove any flower buds that may be present on the cuttings, as they can divert energy away from root development.
Wounding the Cuttings
Wounding the cuttings encourages root growth by exposing the cambium layer:
Learning how to grow azaleas from cuttings can be a fulfilling gardening experience, allowing you to propagate and enjoy the beauty of these vibrant flowers in your garden. With the right techniques and a bit of patience, you can successfully grow new azalea plants from cuttings, ensuring your garden remains colorful and lush. By providing proper care, including suitable soil, adequate watering, and the right environment, your azaleas will thrive and reward you with stunning blooms year after year.

Related articles
Top 5 Spring Tree Pests: Identifying and Managing Common Threats
How to Grow Virginia Creeper: A Complete Guide
How to care for cyclamen from the expert
Detailed instructions: How to care for propagated plants
Understanding tree diseases: Identification, prevention, and treatment
Detailed instructions: How to care for fruit trees
Detailed instructions how to grow winter vegetables
How to propagate an aloe plant: a detailed guide to the methods