Snake plants, also known as Sansevieria or mother-in-law’s tongue, are one of the most popular houseplants. Their striking, architectural leaves and air-purifying abilities make them a favorite among both novice and experienced gardeners. One of the easiest and most rewarding ways to expand your collection of snake plants is through water propagation. Here are the details about “how to propagate snake plant in water”
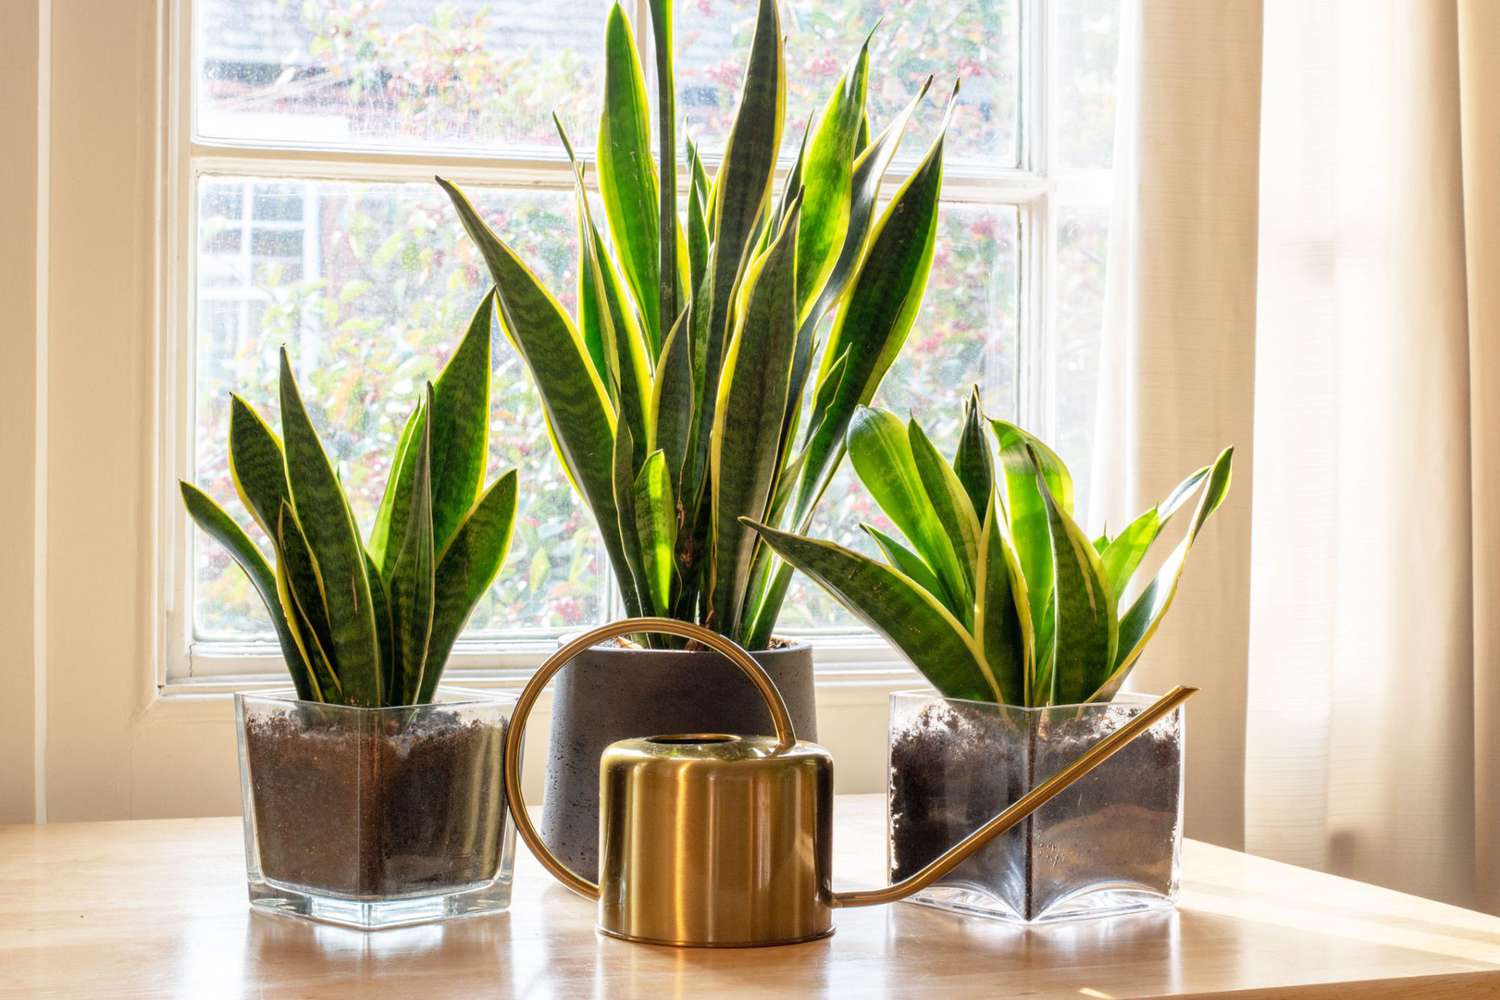
Why propagate snake plants in water?
Benefits of water propagation
- Visual monitoring: One of the most significant advantages of propagating snake plants in water is that you can easily observe the root growth. This visibility allows you to monitor the health of the cuttings and ensure they are developing correctly.
- Simplified process: Water propagation eliminates the need for soil, making it less messy and easier for beginners to manage. There is also a reduced risk of soil-borne pests and diseases affecting the cuttings.
- Cost-effective: By propagating your snake plants, you can save money on purchasing new plants. Additionally, you can create unique gifts for friends and family, sharing the joy of gardening.
- Fast growth: Snake plants are known for their resilience, and when propagated in water, they often develop roots more quickly than in soil. This accelerated growth can lead to faster establishment once they are potted.
- Rooting hormone not required: While using rooting hormone can help speed up the rooting process, snake plants tend to root well without it, making water propagation accessible to everyone.
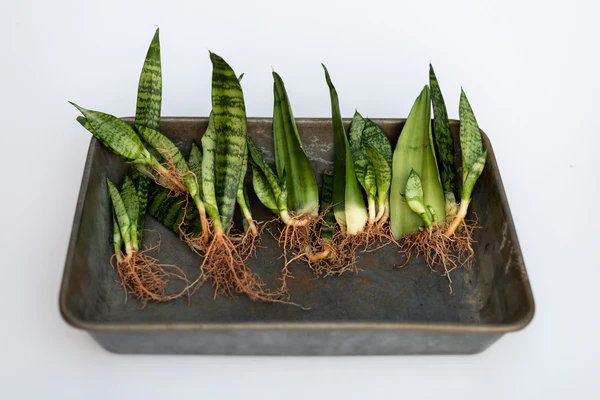
How to propagate snake plant in water
Materials needed
Before you begin propagating your snake plant in water, gather the following materials:
- Healthy snake plant: Choose a mature plant that appears healthy, with no signs of pests or diseases. Ideally, select a plant that has several leaves to work with.
- Sharp knife or scissors: Ensure your cutting tool is clean and sharp to make precise cuts without damaging the plant.
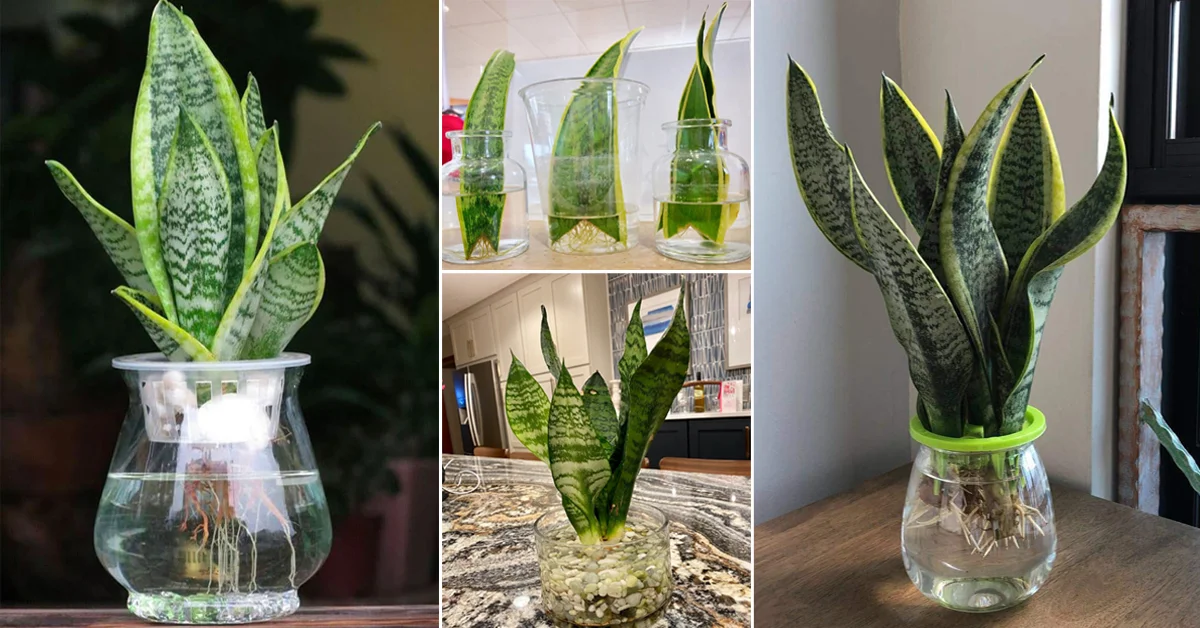
- Container for water: A clear glass or jar is ideal for propagation, as it allows you to observe root growth. You can also use ceramic pots or plastic containers, but make sure they are clean.
- Water: Use room-temperature distilled or filtered water to avoid any chemicals found in tap water that could harm the cuttings.
- Optional: Rooting hormone: While not necessary, rooting hormone can encourage faster root development if you wish to use it.
- Optional: Labels: If you’re propagating multiple cuttings or varieties, consider using labels to track their progress.
Step-by-step guide to propagating snake plants in water
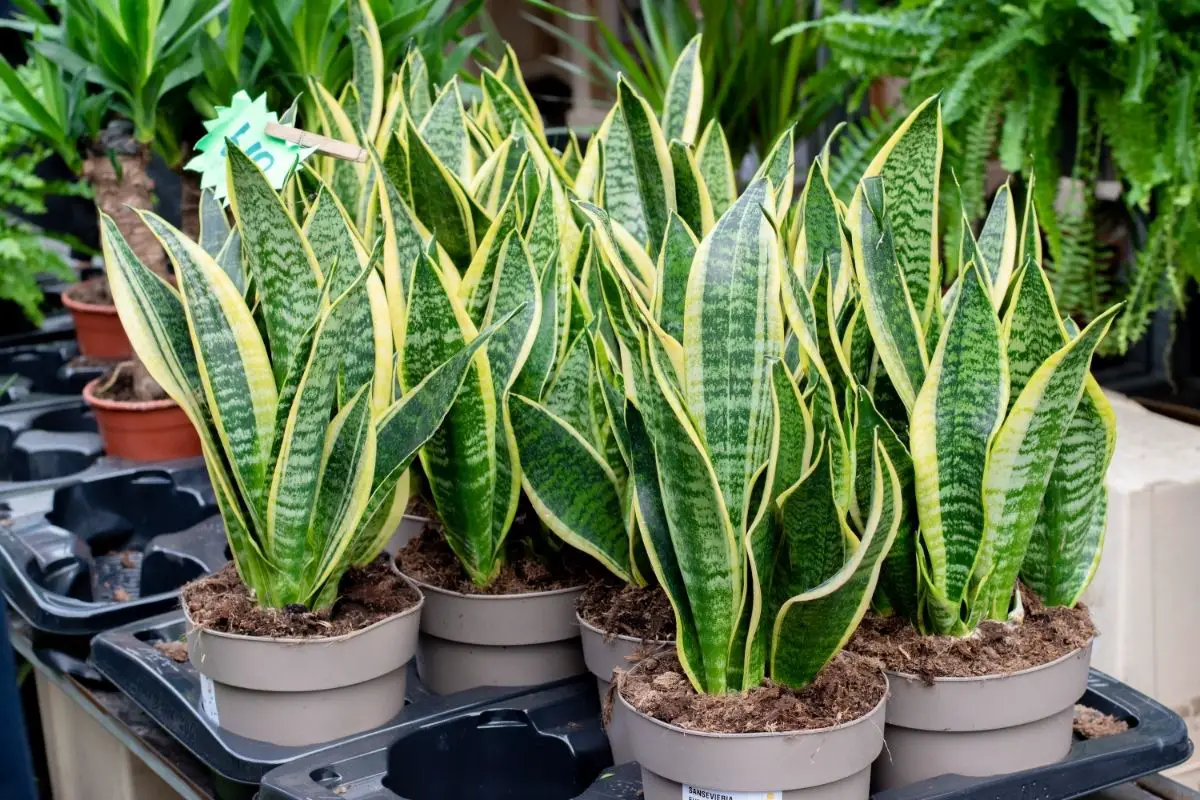
Here are the details:
Step 1: Choose the right time
The best time to propagate snake plants is during the growing season, which typically spans from spring to early summer. During this period, the plant is more active and better equipped to recover from the stress of cutting.
Step 2: Select and prepare your cuttings
- Choose a healthy leaf: Identify a healthy leaf from the mother plant. Look for leaves that are firm, thick, and free from discoloration or damage. Avoid any leaves that show signs of yellowing, spots, or pests.
- Make the cut: Using your sharp knife or scissors, cut a healthy leaf at the base, close to the soil line. You can cut the leaf into sections if you prefer to propagate multiple cuttings. Each section should be at least 4 to 6 inches long, with a clean cut to minimize stress.
- Orientation matters: Remember the orientation of the leaf; the cut end should be submerged in water, while the top of the leaf (the end that was growing upwards) should remain above the water.
Step 3: Allow the cut ends to callus
- Drying Time: Place the cuttings in a dry location, away from direct sunlight, for 24 to 48 hours. This drying period allows the cut ends to callus over, which helps prevent rot when placed in water.
- Optional: Rooting hormone: If you choose to use rooting hormone, dip the cut ends of the cuttings into the hormone before placing them in water. This step can promote faster root development.
Step 4: Place the cuttings in water
- Fill the container: Pour room-temperature distilled or filtered water into your container, filling it to a level that will submerge the cut ends of the snake plant leaves without fully immersing the tops.
- Submerge the cut ends: Carefully place the cuttings into the container, ensuring that only the cut ends are submerged. You can use a container with a narrow opening to support the cuttings and keep them upright.
- Positioning: If using multiple cuttings, space them out so they do not touch each other. This prevents any rot or disease from spreading between the cuttings.
Step 5: Care for your water propagation
- Light conditions: Place the container in a location with bright, indirect light. Snake plants prefer indirect sunlight, which encourages healthy growth without the risk of sunburn.
- Water maintenance: Regularly check the water level, and change the water every week to keep it fresh and oxygenated. This will help prevent stagnation and the growth of algae or bacteria.
- Monitor for roots: After about 2 to 4 weeks, you should start to see roots developing from the cut ends. The rate of root growth may vary depending on environmental conditions, including light and temperature.
Step 6: Transplanting to soil (optional)
Once the roots are around 2 to 3 inches long, you can choose to transplant your cuttings into soil if you wish to grow them as potted plants.
- Prepare pots: Select small pots with drainage holes and fill them with a well-draining potting mix suitable for succulents or cacti. A mix of perlite, orchid bark, and potting soil works well.
- Planting the cuttings: Make a small hole in the soil with your finger and gently place the rooted cutting into the hole. Firmly pack the soil around the base to secure the plant.
- Watering after planting: Water the newly potted snake plants lightly to help settle the soil. Ensure that excess water can drain away to prevent root rot.
- Ongoing care: Place the newly potted snake plants in a location with bright, indirect light and water them sparingly, allowing the soil to dry out between waterings. Be cautious not to overwater, as this can lead to root rot.
Common challenges and troubleshooting
Here are the details:
Rotting cuttings
- Cause: Rotting is often due to excess moisture or lack of airflow around the cuttings.
- Solution: Ensure the cut ends have dried and callused before placing them in water. If rot occurs, trim away the affected area, allowing a new callus to form before placing it back in water.
No root growth
- Cause: Slow or absent root growth can occur if the cuttings are not receiving enough light or if the water is not changed regularly.
- Solution: Move the container to a brighter location and ensure you change the water weekly. If roots are still not forming, consider adjusting the environment’s temperature and humidity levels.
Algae growth
- Cause: Algae can develop in stagnant water, especially if exposed to direct sunlight.
- Solution: Change the water more frequently and keep the container out of direct sunlight. If algae develop, clean the container thoroughly before reusing it.
Leaves turning yellow
- Cause: Yellowing leaves may indicate overwatering or poor light conditions.
- Solution: Adjust your watering schedule and check the light conditions for the cuttings. Yellowing can also occur if the cuttings are still too wet, so ensure proper drainage.
Pests and diseases
- Cause: While snake plants are generally pest-resistant, they can occasionally attract pests such as spider mites, mealybugs, or aphids, especially in a humid environment.
- Solution: Regularly inspect your plants for signs of pests. If you spot any, remove them using a soft cloth or cotton swab dipped in rubbing alcohol. You can also use insecticidal soap for a more thorough treatment if the infestation is severe.
Additional tips for successful water propagation
Here are the details:
- Temperature control: Snake plants prefer warmer temperatures, ideally between 70°F and 90°F (21°C to 32°C). Keeping your cuttings in a stable, warm environment will encourage faster root growth.
- Humidity levels: While snake plants are tolerant of low humidity, providing a slightly humid environment can help the cuttings thrive. If you live in a dry climate, consider misting the cuttings lightly or using a humidity tray.
- Experiment with different containers: While clear containers are excellent for monitoring root growth, you can also experiment with different shapes and sizes. Just ensure the container provides adequate support and access to water.
- Patience is key: Propagation can take time, and each cutting may have a different growth rate. Be patient and give your snake plants the time they need to develop healthy roots.
- Use clean tools: Always use clean, sterilized tools when taking cuttings or handling plants to prevent the spread of disease. A quick wipe with rubbing alcohol or a bleach solution can help keep your tools sanitized.
- Record keeping: Consider keeping a journal of your propagation process. Note the dates you take cuttings, when roots develop, and any changes in care. This information can help you refine your propagation techniques over time.
Conclusion
Here is detailed information about “how to propagate snake plant in water”. Propagating snake plants in water is not only an easy and enjoyable process but also a rewarding way to expand your plant collection. By following the steps outlined in this guide, you can successfully propagate your snake plants, ensuring they thrive and bring beauty to your home. Remember to be patient during the rooting process, as it may take several weeks for the roots to develop fully. With proper care and attention, your new snake plants will flourish and enhance your living space for years to come. Happy propagating!

Related articles
Top 5 Spring Tree Pests: Identifying and Managing Common Threats
How to Grow Virginia Creeper: A Complete Guide
How to care for cyclamen from the expert
Detailed instructions: How to care for propagated plants
Understanding tree diseases: Identification, prevention, and treatment
Detailed instructions: How to care for fruit trees
Detailed instructions how to grow winter vegetables
How to propagate an aloe plant: a detailed guide to the methods