Caring for propagated plants is an exciting and rewarding endeavor that allows gardeners to expand their collection without spending a lot of money. Understanding how to properly care for these young plants is essential to ensure their successful growth and establishment. Whether you have propagated plants from seeds, cuttings, or divisions, providing the right care will promote healthy growth. Here are the details about “how to care for propagated plants”:
Understanding plant propagation
Plant propagation is the process of creating new plants from existing ones, which can be done through various methods:
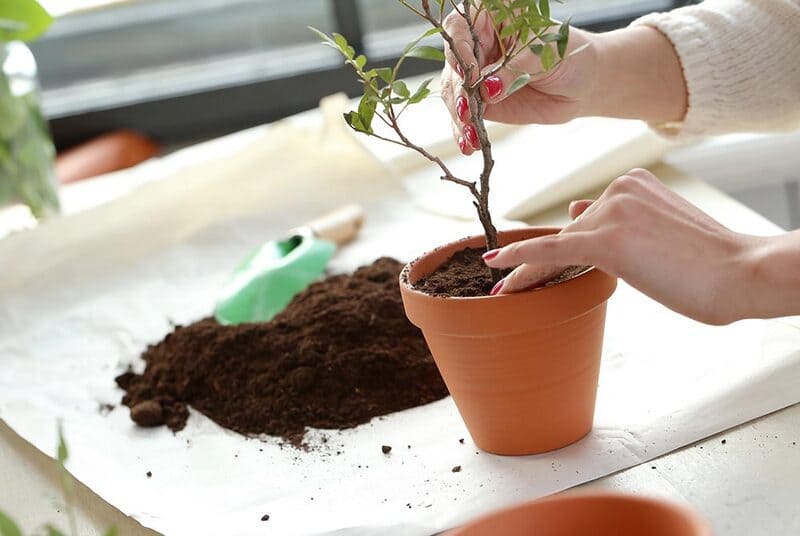
Methods of propagation
- Seeds: Growing plants from seeds involves sowing seeds in a suitable growing medium and providing the right conditions for germination.
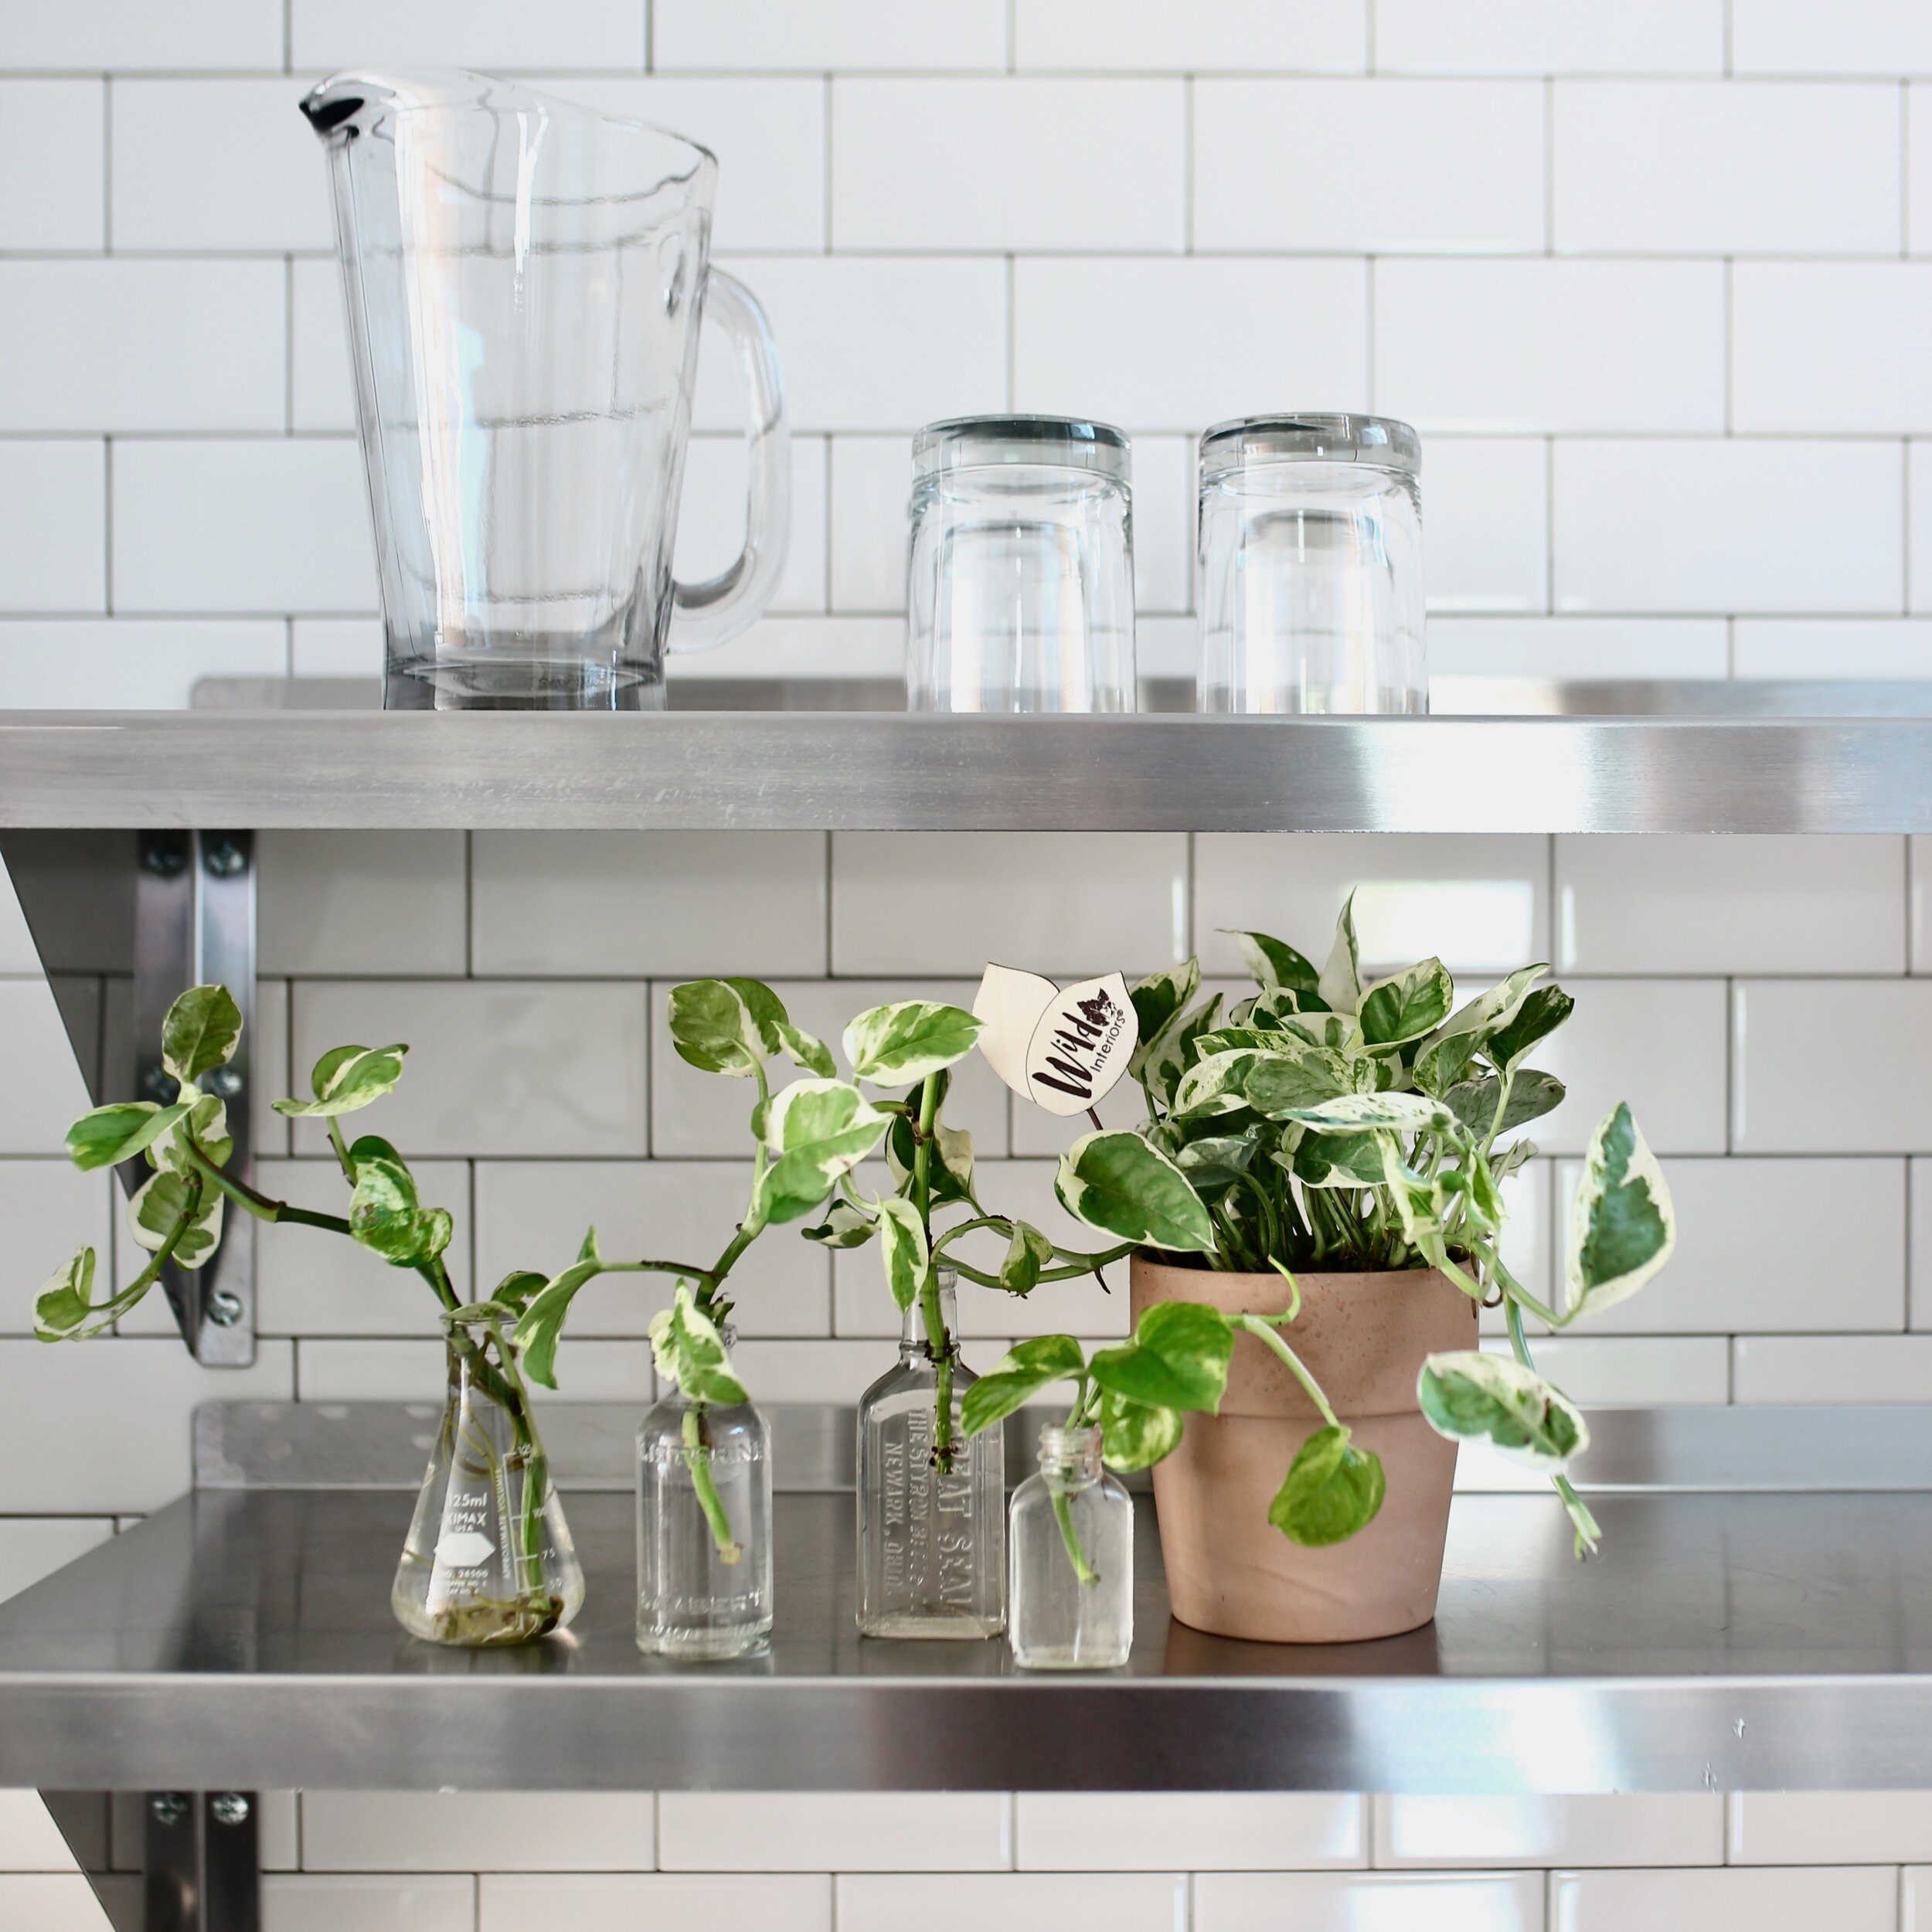
- Cuttings: Taking cuttings involves snipping a part of a plant (such as a stem, leaf, or root) and allowing it to develop roots to form a new plant. This method is popular for many houseplants and shrubs.
- Divisions: This method involves dividing an established plant into smaller sections, each capable of growing into a new plant. This is commonly used for perennials and bulb plants.
- Layering: In layering, a branch is encouraged to root while still attached to the parent plant. Once rooted, it can be separated and planted as an individual plant.
Understanding these methods will help you choose the best propagation technique for the plants you wish to grow and allow you to better care for them afterward.
How to care for propagated plants – Initial setup for propagated plants
Here are the details:
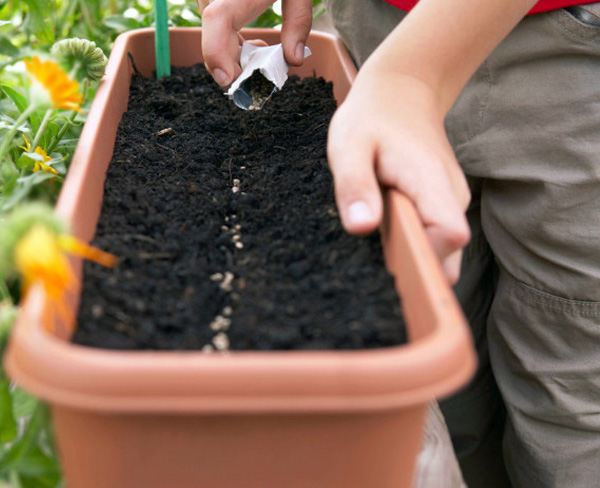
Choosing the right containers
- Container selection: Select clean pots or containers that have adequate drainage holes. This is critical to prevent waterlogging, which can lead to root rot. Containers made of plastic, clay, or biodegradable materials can work well, depending on your preferences.
- Size matters: The size of the container should correspond to the type of plant and its growth stage. Smaller containers are suitable for cuttings or seeds, while larger containers may be needed for divisions.
- Sterilization: If you are reusing containers, it’s essential to sterilize them. Wash with soap and water, then soak in a solution of one part bleach to ten parts water for about 10-15 minutes to eliminate pathogens that could harm your plants.
Choosing the right growing medium
- Potting mix: Use a high-quality, well-draining potting mix that suits the type of plant you are propagating. Different plants have varying requirements; for example, succulents prefer a sandy mix, while tropical plants thrive in a rich, moisture-retentive mix.
- Homemade mix: You can create your own potting mix by combining peat moss, perlite, and compost to achieve a well-aerated and nutrient-rich medium. This homemade mix can provide the right balance of drainage and moisture retention.
- Sterilization: If you’re making your own soil mix, it’s wise to sterilize it to prevent introducing any pathogens. Bake the mix in an oven at 180°F (82°C) for about 30 minutes to kill off any harmful organisms.
Setting up the environment
- Location: Choose a location that provides adequate light, warmth, and humidity for your propagated plants. A bright, indirect light spot is usually ideal, as direct sunlight can scorch young plants while too little light can stunt their growth.
- Humidity: Many propagated plants thrive in higher humidity levels. Consider using humidity domes or placing plastic bags over pots to create a mini-greenhouse effect. This helps retain moisture and encourages rooting in cuttings. Remove these covers gradually as the plants establish to prevent excessive humidity and mold growth.
- Temperature: Most plants prefer temperatures between 65°F and 75°F (18°C – 24°C). Avoid placing plants near drafts, heating vents, or air conditioning units that could lead to temperature fluctuations.
Watering propagated plants
Proper watering is critical for the success of propagated plants. Here are some best practices to ensure that your plants receive the right amount of moisture:
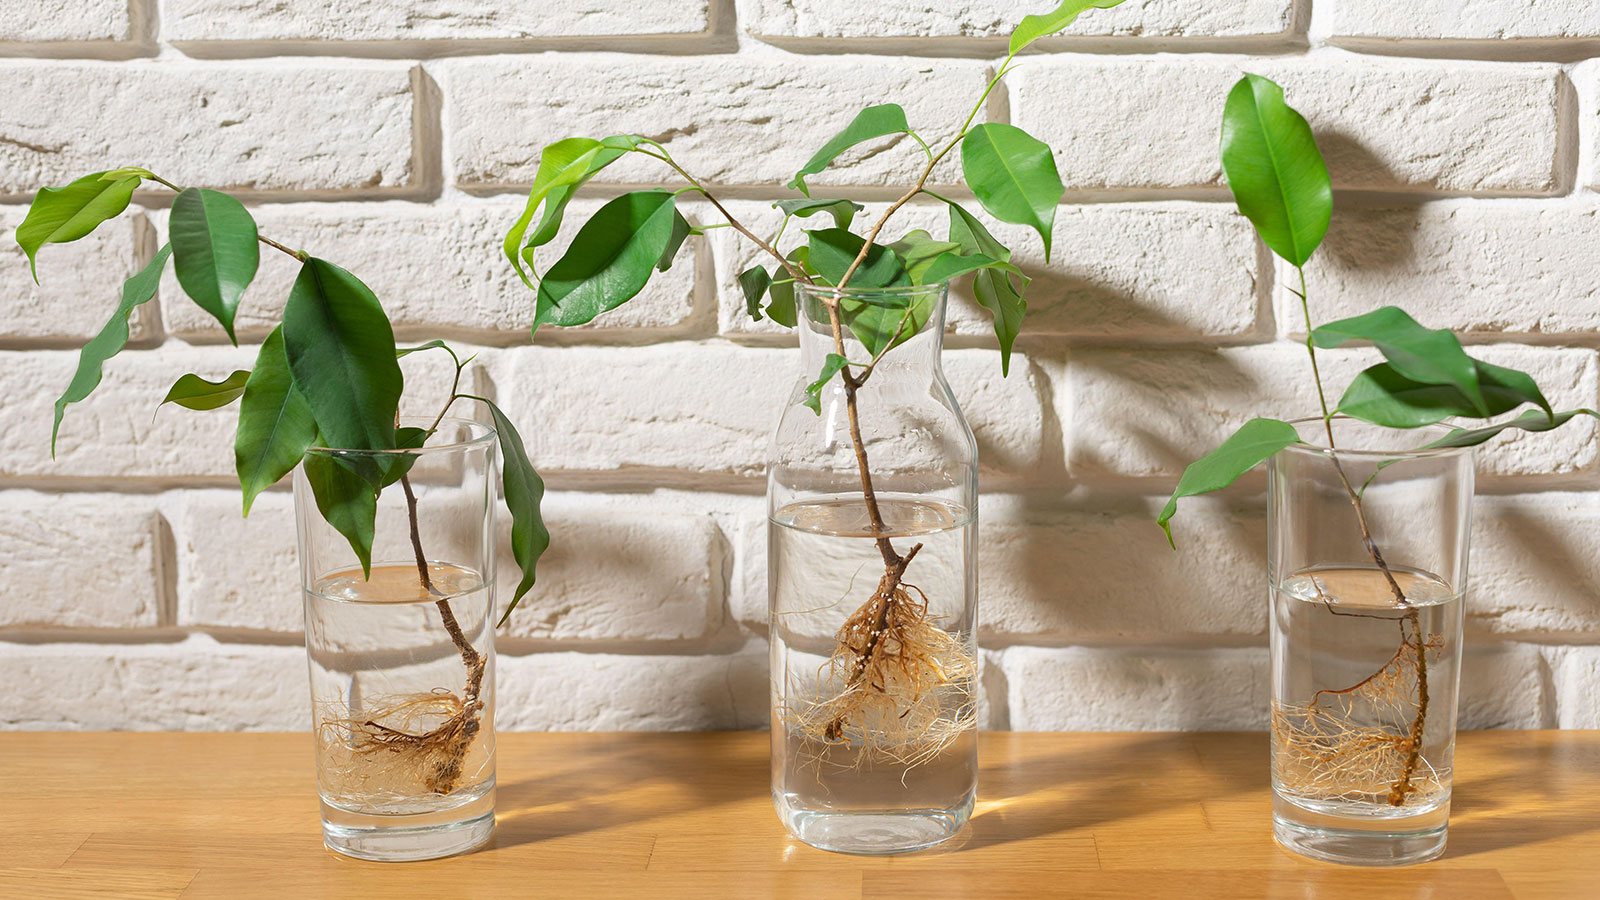
Watering techniques
- Initial watering: After planting cuttings or seeds, water the soil thoroughly until excess water drains from the bottom of the container. This ensures that the roots are adequately hydrated and helps settle the soil around the roots.
- Watering frequency: Check the moisture level by sticking your finger about an inch into the soil. If it feels dry, it’s time to water. Be careful not to overwater, as this can lead to root rot. Generally, it’s better to underwater than overwater, especially in the early stages of propagation.
- Watering method: Use a watering can with a fine spout to provide gentle watering. This prevents soil displacement and helps avoid disturbing delicate root systems. For larger containers, consider using a soaker hose or drip irrigation system for consistent moisture.
Water quality
- Clean water: Use clean, room-temperature water to avoid shocking the plants. Tap water is usually fine, but if it contains high levels of chlorine or fluoride, consider using rainwater or filtered water instead.
- Watering schedule: Create a watering schedule that aligns with the needs of your plants. Some may require daily watering, while others may only need it every few days. Adjust based on environmental conditions, such as temperature and humidity.
- Signs of watering issues: Be vigilant about the signs of underwatering (wilting, dry soil) and overwatering (yellowing leaves, mushy roots). Adjust your watering routine accordingly to maintain healthy plants.
Light requirements
Light is essential for photosynthesis and overall growth in propagated plants.
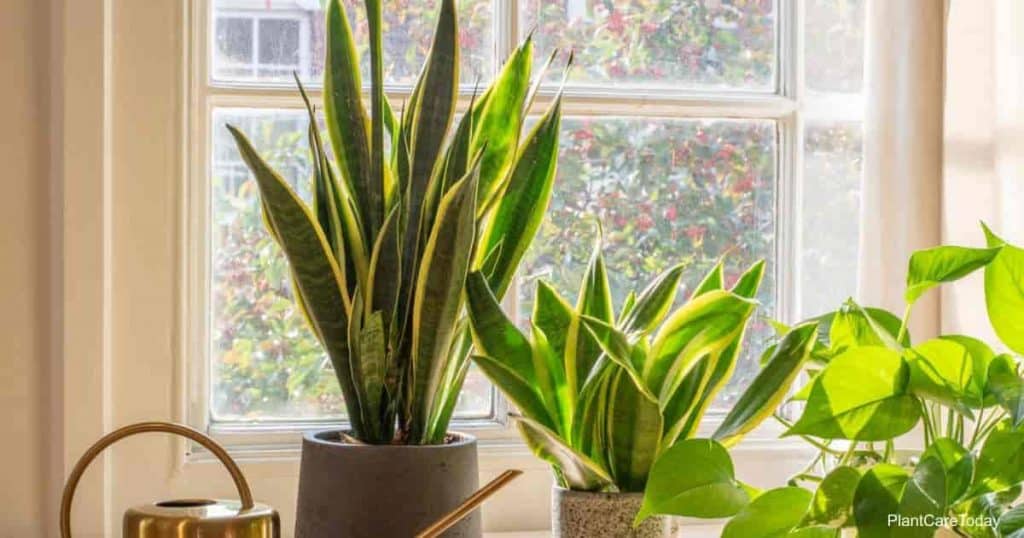
Providing adequate light
- Natural light: Place propagated plants in a location with bright, indirect sunlight. Too much direct sunlight can scorch young plants, while too little light can hinder their growth. Use sheer curtains to filter strong sunlight if necessary.
- Artificial light: If natural light is insufficient, consider using grow lights. LED or fluorescent grow lights can provide the necessary spectrum for healthy growth. Position the lights about 6-12 inches above the plants and keep them on for 12-16 hours a day, adjusting as needed based on plant response.
- Rotation for even growth: To promote balanced growth, rotate pots regularly to ensure even light distribution on all sides of the plant. This can prevent the plants from leaning toward the light source.
Adjusting light exposure
- Monitoring growth: Pay attention to how your plants are growing. If they appear leggy or are stretching towards the light, they may need more light exposure.
- Adapting to seasons: As the seasons change, the angle and intensity of sunlight can vary. Be prepared to move your plants closer to the light source during the winter months when natural light is limited.
Fertilization
Young propagated plants typically do not require immediate fertilization, but they will benefit from nutrients as they establish.
Timing fertilization
- Initial phase: Avoid fertilizing immediately after propagation to allow the roots to settle and prevent fertilizer burn. It’s best to wait about 4-6 weeks after rooting before introducing nutrients.
- Signs of nutrient deficiency: If you notice pale leaves, stunted growth, or poor foliage development, it may be time to start fertilizing. Look for signs of nutrient deficiency, which can include yellowing leaves or poor overall vigor.
Fertilization techniques
- Liquid fertilizer: Use a diluted, balanced liquid fertilizer (like a 10-10-10 NPK formula) to provide nutrients. Mix according to the package instructions and apply during watering. This ensures that nutrients are available to the roots without overwhelming the plants.
- Slow-release fertilizer: Consider using a slow-release fertilizer mixed into the potting soil. This provides a steady supply of nutrients over time and reduces the risk of over-fertilization.
- Organic options: If you prefer organic methods, consider using compost tea or fish emulsion as a nutrient source. These provide beneficial microorganisms along with essential nutrients.
- Fertilization frequency: Depending on the type of fertilizer used, you may need to fertilize every 4-6 weeks during the growing season. Adjust frequency based on plant response and growth rates.
Pest management
Monitoring for pests is crucial to ensure the health of propagated plants. Common pests can quickly damage young plants if not managed effectively.
Common pests
- Aphids: These small, soft-bodied insects can suck sap from plants, leading to stunted growth and yellowing leaves. They often congregate on new growth and the undersides of leaves. Treat aphid infestations with insecticidal soap or neem oil.
- Spider mites: Tiny, spider-like pests can cause leaf discoloration and webbing. They thrive in hot, dry conditions. Increasing humidity around the plants can help deter them, along with the application of miticides or insecticidal soap.
- Fungus gnats: These small flies thrive in moist conditions and can damage roots, leading to wilting and decline. Allow the soil to dry out between waterings to disrupt their life cycle, and consider using sticky traps to catch adults.
- Whiteflies: These tiny, white flying insects feed on plant sap and can cause yellowing and wilting. Use insecticidal soap or neem oil to manage infestations, and ensure good airflow around plants.
Monitoring and prevention
- Regular inspection: Check plants regularly for signs of pests or disease. Early detection is key to effective management. Look for discolored leaves, visible insects, or unusual growth patterns.
- Sanitation practices: Keep the area around your plants clean and free from debris. This reduces the likelihood of pest infestations and disease. Remove any dead leaves or plant material that could harbor pests.
- Introduce beneficial insects: Consider introducing beneficial insects such as ladybugs or lacewings to help control pest populations naturally.
Common issues with propagated plants
Even with careful care, propagated plants can encounter issues. Here are some common problems and their solutions:
Wilting or drooping leaves
- Causes: Wilting or drooping leaves may indicate underwatering, overwatering, or environmental stress. Check the soil moisture to determine the cause.
- Solutions: If the soil is dry, water the plant thoroughly. If it is soggy, allow the soil to dry out before watering again. Adjust your watering practices based on the specific needs of the plant.
Yellowing leaves
- Causes: Yellowing leaves can result from nutrient deficiencies, overwatering, or poor drainage. It may also be a sign of pest issues or root problems.
- Solutions: Assess the watering schedule and check for root rot. If nutrient deficiency is suspected, consider fertilizing with a balanced fertilizer.
Root rot
- Causes: Root rot is typically caused by overwatering or poorly draining soil. Symptoms include wilting, yellowing leaves, and a foul smell from the soil.
- Solutions: Remove the plant from the pot, trim away rotten roots, and repot in fresh, well-draining soil. Adjust your watering practices to prevent recurrence. Make sure the new container has adequate drainage.
Leggy growth
- Causes: If the plant is stretching towards the light, it may not be receiving enough light. This can result in weak stems and elongated growth.
- Solutions: Move the plant to a brighter location or use supplemental grow lights to encourage bushier growth. Pinching back the tips of the plant can also promote branching and denser foliage.
Transitioning to larger pots
As your propagated plants grow, they may outgrow their initial containers. Properly transitioning them to larger pots ensures continued growth and vitality.
Timing for repotting
- Signs of root bound: When roots start to grow out of the drainage holes or the plant stops growing, it may be time to repot. Checking the roots periodically can help you determine when it’s necessary.
- Best timing: Spring is usually the best time to repot, as plants are actively growing and can recover quickly from the stress of repotting.
Repotting process
- Choose a larger container: Select a pot that is one size larger than the current one, ensuring it has drainage holes to prevent water accumulation.
- Remove the plant: Gently take the plant out of its current pot, taking care not to damage the roots. If the roots are tightly bound, gently tease them apart to encourage outward growth.
- Prepare new soil: Fill the new pot with fresh potting mix, leaving enough space for the root ball. Make sure the new soil is suitable for the type of plant you are repotting.
- Position the plant: Place the plant in the new pot, ensuring it sits at the same depth as before. Fill in around the roots with soil and lightly press to eliminate air pockets. Avoid burying the stem, as this can lead to rot.
- Watering after repotting: Water the plant thoroughly after repotting to help settle the soil and hydrate the roots. Monitor moisture levels closely in the days following repotting.
Additional tips for successful plant care
Here are the details:
- Labeling plants: Keep track of the different propagated plants by labeling them with their names and the propagation date. This will help you monitor their growth and care needs.
- Record keeping: Maintain a gardening journal to document care routines, growth patterns, and any issues that arise. This information can be valuable for improving your plant care strategies in the future.
- Seasonal care adjustments: Be mindful of seasonal changes and adjust your care routines accordingly. For example, indoor plants may require less water in the winter when growth slows down.
- Patience is key: Remember that propagation can be a slow process, and some plants may take longer to establish than others. Be patient and give your plants the time they need to thrive.
Conclusion
Here are the details about “how to care for propagated plants”. Caring for propagated plants requires attention to detail and a solid understanding of their specific needs. By providing the right environment, adequate water, light, and nutrients, you can help your propagated plants thrive and flourish. Regular monitoring and prompt attention to any issues that arise will promote healthy growth and successful establishment.
Related articles
Top 5 Spring Tree Pests: Identifying and Managing Common Threats
How to Grow Virginia Creeper: A Complete Guide
How to care for cyclamen from the expert
Detailed instructions: How to care for propagated plants
Understanding tree diseases: Identification, prevention, and treatment
Detailed instructions: How to care for fruit trees
Detailed instructions how to grow winter vegetables
How to propagate an aloe plant: a detailed guide to the methods