Growing hollyhocks from seed can be a rewarding and satisfying experience for any gardener. Rather than purchasing fully-grown plants, starting from seeds allows you to witness the entire lifecycle of these majestic flowers right from your own garden. Whether you’re a seasoned gardener or a novice with a passion for blooms, learning how to cultivate hollyhocks from seed is both practical and fulfilling. Follow along as we delve into the steps and techniques that will help you successfully grow these vibrant flowers from start to finish. This guide will walk you through the simple steps of “how to grow hollyhocks from seed“
Understanding Hollyhocks: A Brief Overview
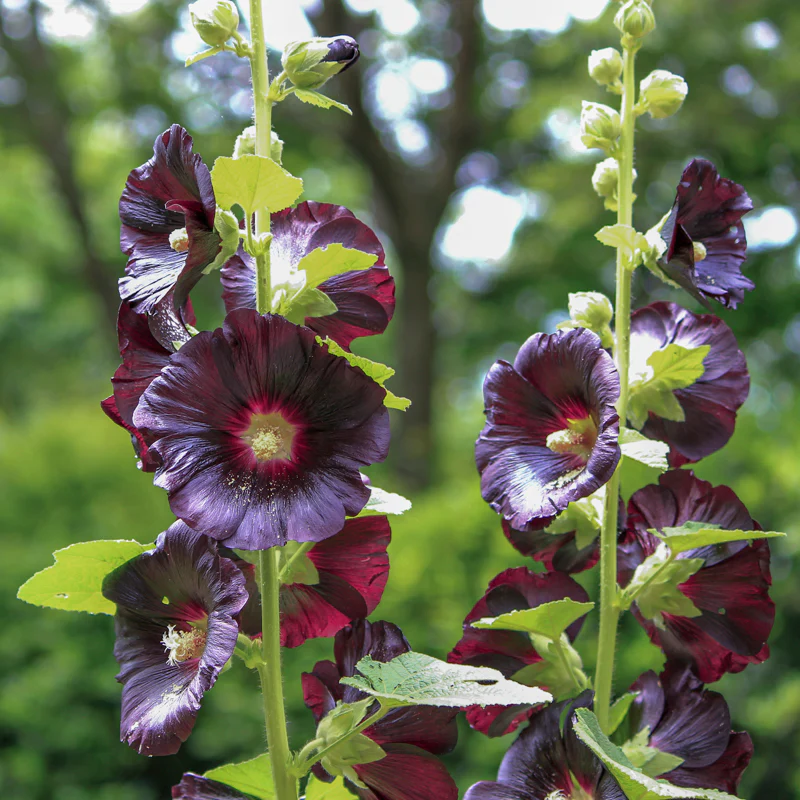
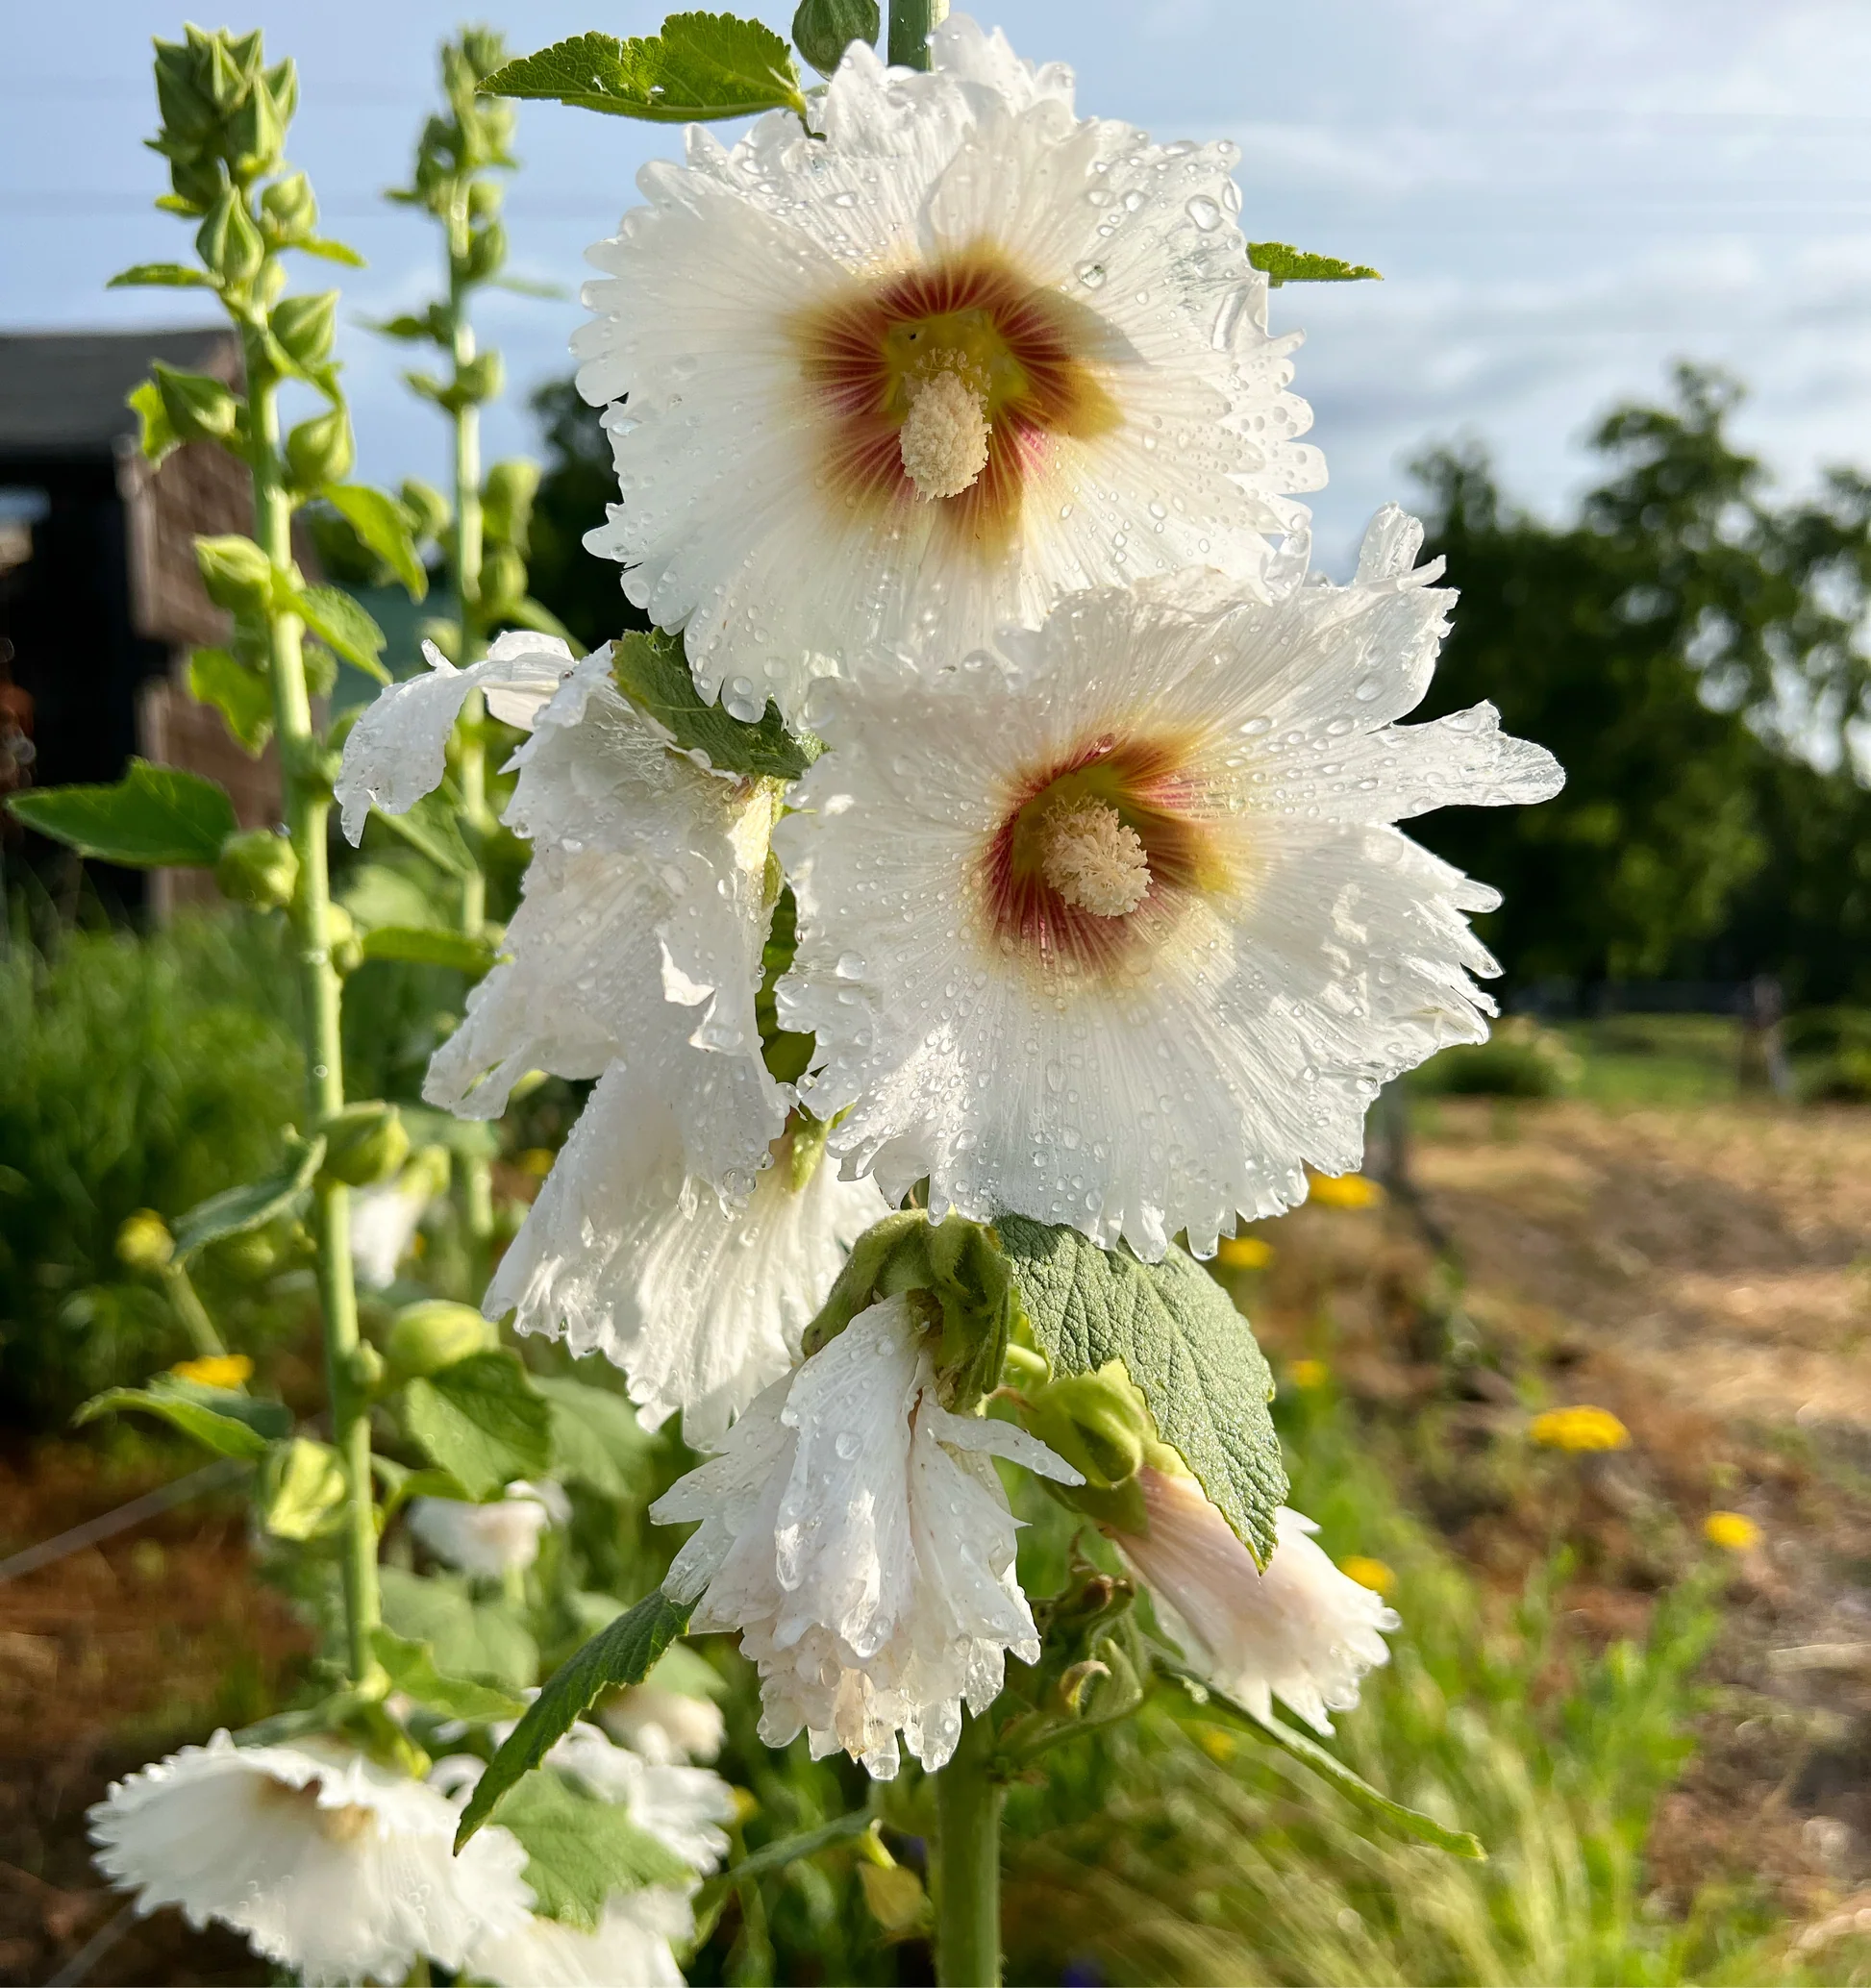
Before diving into the specifics of how to grow hollyhocks from seed, it’s helpful to understand a little about these enchanting plants. Hollyhocks (Alcea rosea) are biennials, meaning they typically flower in their second year after planting. They can grow up to 8 feet tall, with flowers ranging in color from white and pink to deep red and purple. Hollyhocks are beloved for their old-fashioned charm and ability to attract pollinators like bees and butterflies to the garden.
How to Grow Hollyhocks from Seed
Choosing the Right Variety of Hollyhocks
When learning how to grow hollyhocks from seed, one of the first steps is selecting the right variety for your garden. Hollyhocks come in a range of colors and forms, from single-petaled varieties to double-petaled beauties that resemble peonies. Popular varieties include:
- ‘Nigra’: Known for its dark, almost black blooms, ‘Nigra’ adds drama to any garden.
- ‘Peaches and Dreams’: This variety offers double blooms in soft peach tones, perfect for a romantic garden.
- ‘Chater’s Double’: A classic variety with double blooms in a variety of colors, ideal for cottage gardens.
When to Start Hollyhock Seeds
Timing is crucial when it comes to how to grow hollyhocks from seed. Hollyhocks can be started indoors or directly sown in the garden, depending on your climate and preferences.
Starting Seeds Indoors
If you live in a region with a short growing season, starting hollyhock seeds indoors 6-8 weeks before the last frost date is a good option. This gives the plants a head start and ensures they are strong enough to be transplanted outdoors after the danger of frost has passed.
Direct Sowing in the Garden
For those in warmer climates, or if you prefer a more hands-off approach, you can sow hollyhock seeds directly in the garden in early spring or late summer. Sowing in late summer allows the plants to establish themselves before winter and bloom the following year.
Preparing the Soil for Hollyhocks
Hollyhocks thrive in well-drained soil rich in organic matter. To prepare the soil for planting, start by removing any weeds and working in plenty of compost or well-rotted manure. This not only enriches the soil but also improves its structure, making it easier for the roots to grow deeply.
Hollyhocks prefer a slightly alkaline to neutral pH, so if your soil is very acidic, consider adding some lime to raise the pH. A well-prepared soil bed is key to successfully growing hollyhocks from seed.
Planting Hollyhock Seeds
Now that your soil is ready, let’s move on to the actual planting process. Here’s how to grow hollyhocks from seed, step by step:
Indoor Planting
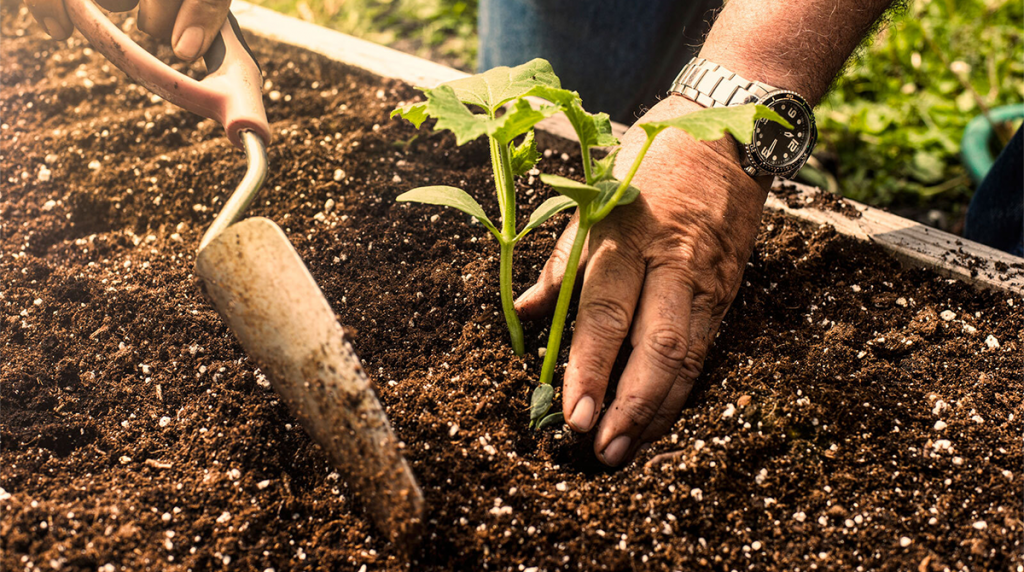
- Fill Seed Trays with Potting Mix: Use a high-quality seed-starting mix to fill your trays or pots. This mix is usually lighter and drains well, which is essential for young seedlings.
- Sow the Seeds: Place the hollyhock seeds on the surface of the potting mix and cover them lightly with a thin layer of soil. Hollyhock seeds need light to germinate, so avoid burying them too deeply.
- Water and Cover: Water the seeds gently and cover the trays with a clear plastic lid or place them in a propagator to retain moisture.
- Provide Light: Place the trays in a bright location, but out of direct sunlight. Hollyhock seeds germinate best at temperatures between 65-70°F (18-21°C).
- Transplanting: Once the seedlings have developed a couple of true leaves, they can be transplanted into individual pots or directly into the garden.
Direct Sowing
- Mark the Area: Choose a sunny spot in your garden and mark where you want to plant the hollyhocks.
- Sow the Seeds: Scatter the seeds on the soil surface and gently press them down. Alternatively, you can sow them in rows, spacing the seeds about 12-18 inches apart.
- Water: Water the area gently, ensuring the soil stays moist but not waterlogged.
- Thin the Seedlings: Once the seedlings are a few inches tall, thin them to about 18-24 inches apart to allow enough space for each plant to grow.
Caring for Hollyhock Seedlings
Proper care during the early stages is essential when learning how to grow hollyhocks from seed. Hollyhock seedlings are relatively easy to care for, but they do have some specific needs.
Watering
Hollyhocks require consistent moisture, especially during their first year of growth. Water the seedlings regularly, ensuring the soil remains evenly moist. However, be careful not to overwater, as soggy soil can lead to root rot.
Fertilizing

Feed the seedlings with a balanced, water-soluble fertilizer every 4-6 weeks during the growing season. This will provide them with the nutrients they need to develop strong roots and healthy foliage.
Transplanting Hollyhocks to the Garden
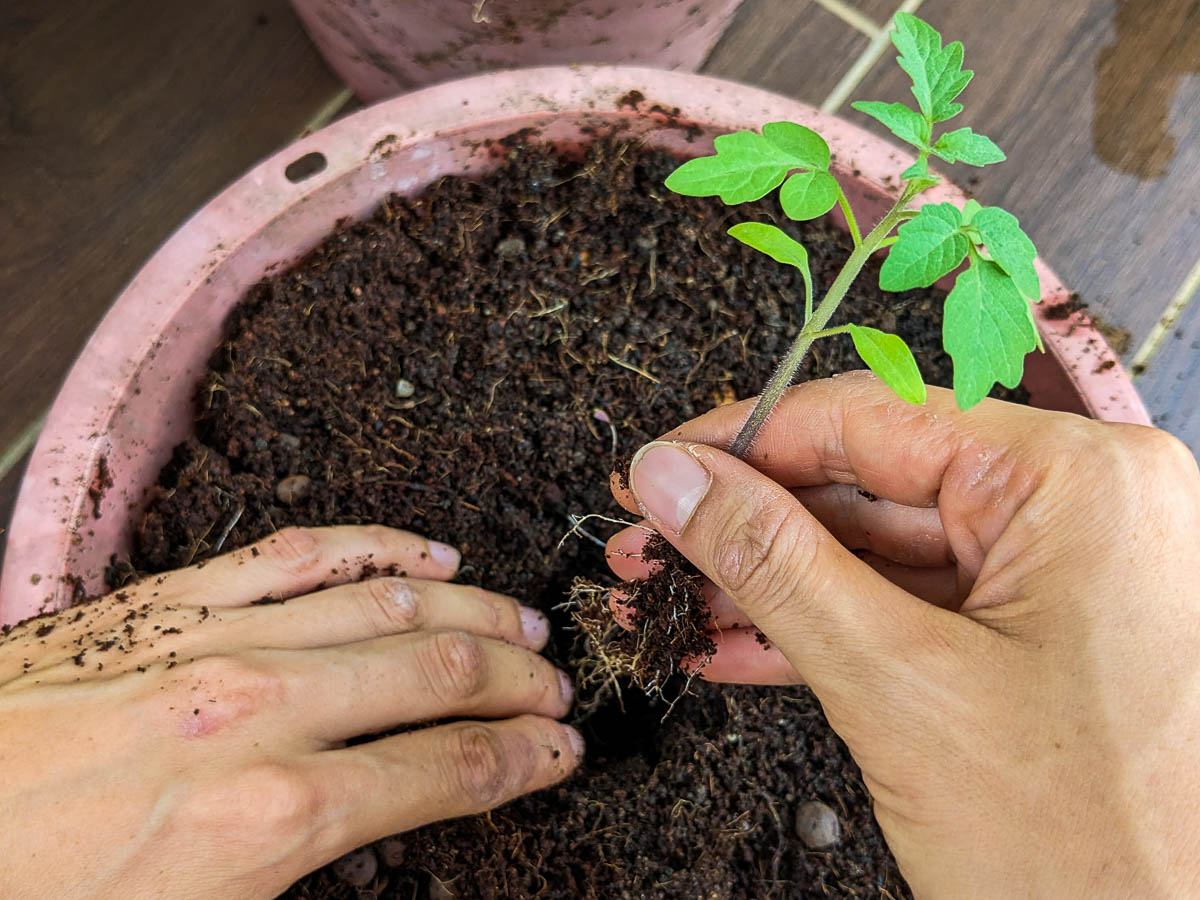
When your hollyhock seedlings are large enough to handle and the outdoor conditions are suitable, it’s time to transplant them into the garden.
Choosing the Right Location
Hollyhocks prefer full sun, so choose a location that receives at least 6-8 hours of sunlight each day. They also need plenty of space to grow, so plant them at least 18-24 inches apart.
Transplanting Process
- Prepare the Soil: Before transplanting, make sure the soil is well-prepared and enriched with compost or manure.
- Dig the Holes: Dig holes large enough to accommodate the root balls of your seedlings.
- Transplant the Seedlings: Gently remove the seedlings from their pots or trays, being careful not to disturb the roots. Place them in the holes and firm the soil around them.
- Water Thoroughly: Water the transplanted seedlings well to help them establish in their new location.
Supporting Your Hollyhocks
As your hollyhocks grow, they may need some support to prevent the tall flower spikes from toppling over. Staking is a simple way to provide this support.
How to Stake Hollyhocks
- Insert Stakes Early: Place sturdy stakes next to each hollyhock plant while they are still small. This will allow the plants to grow into the support without damage.
- Tie the Stems: As the plants grow, tie the stems loosely to the stakes using garden twine. Be careful not to tie them too tightly, as this can damage the stems.
Watering and Fertilizing Hollyhocks
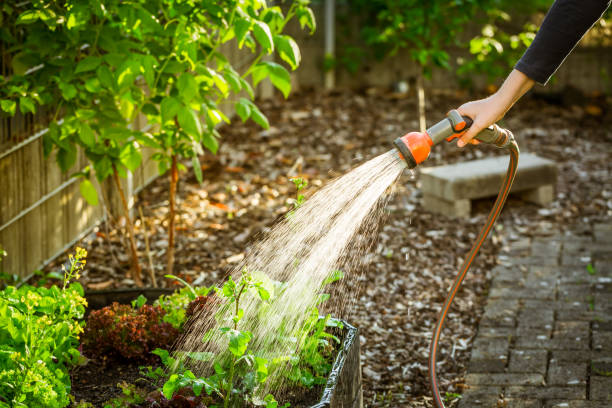
Hollyhocks are relatively drought-tolerant once established, but regular watering is still important, especially during dry spells. Water at the base of the plants to avoid wetting the leaves, which can help prevent fungal diseases.
Fertilize hollyhocks in early spring and again in mid-summer with a balanced, slow-release fertilizer. This will encourage strong growth and prolific blooming.
Dealing with Pests and Diseases
Hollyhocks are generally hardy plants, but they can be susceptible to certain pests and diseases.
Common Pests
- Aphids: These tiny insects can be a problem, especially in early spring. They can be controlled with insecticidal soap or by encouraging natural predators like ladybugs.
- Japanese Beetles: These pests can quickly defoliate hollyhocks. Handpicking them off the plants is an effective way to control them.
Common Diseases
- Rust: Hollyhocks are particularly prone to rust, a fungal disease that causes orange spots on the leaves. To prevent rust, water at the base of the plants and avoid overhead watering. If rust appears, remove affected leaves and treat with a fungicide.
Pruning and Deadheading Hollyhocks
Regular pruning and deadheading are key to keeping your hollyhocks looking their best.
Pruning
Remove any damaged or diseased leaves as soon as you notice them. This will help prevent the spread of diseases and keep the plants healthy.
Deadheading
To encourage continuous blooming, remove spent flowers before they have a chance to set seed. This will redirect the plant’s energy into producing more blooms.
Saving Hollyhock Seeds
If you want to continue growing hollyhocks from seed in the future, saving seeds from your plants is a simple and rewarding process.
- Allow the Seed Pods to Dry: After the flowers have faded, allow the seed pods to dry on the plant. The seeds are ready to harvest when the pods turn brown and start to split open.
- Collect the Seeds: Gently remove the seed pods from the plant and open them to collect the seeds.
- Store the Seeds: Store the seeds in a cool, dry place until you’re ready to plant them the following season.
Conclusion
Growing hollyhocks from seed is a wonderful way to add towering beauty to your garden. By following the steps outlined in this guide on how to grow hollyhocks from seed, you’ll be well on your way to enjoying these stunning blooms for years to come. From selecting the right variety to saving seeds for future planting, growing hollyhocks is a rewarding experience that brings a touch of timeless charm to any garden. So why not give it a try? With a little patience and care, you can grow hollyhocks that will be the envy of the neighborhood.
FAQs
How long does it take to grow hollyhocks from seed?
It typically takes 1-2 years for hollyhocks to bloom after planting seeds, as they are biennial plants.
Can hollyhocks be grown in containers?
Yes, dwarf varieties of hollyhocks can be grown in large containers, though they prefer being planted directly in the garden.
Do hollyhocks need full sun?
Yes, hollyhocks thrive in full sun and need at least 6 hours of direct sunlight each day.
How do I prevent rust on hollyhocks?
To prevent rust, water hollyhocks at the base, avoid wetting the leaves, and ensure good air circulation around the plants.
Are hollyhocks annual or perennial?
Hollyhocks are typically biennial, meaning they flower in their second year, though some varieties can act as short-lived perennials.
Related articles
Top 5 Spring Tree Pests: Identifying and Managing Common Threats
How to Grow Virginia Creeper: A Complete Guide
How to care for cyclamen from the expert
Detailed instructions: How to care for propagated plants
Understanding tree diseases: Identification, prevention, and treatment
Detailed instructions: How to care for fruit trees
Detailed instructions how to grow winter vegetables
How to propagate an aloe plant: a detailed guide to the methods